
This is probably the easiest of the three poppy tutorials on this blog so far. There are two designs using the same process
1. Clean your rock.
For more details on this, see here
2. Dab red paint on your rock.
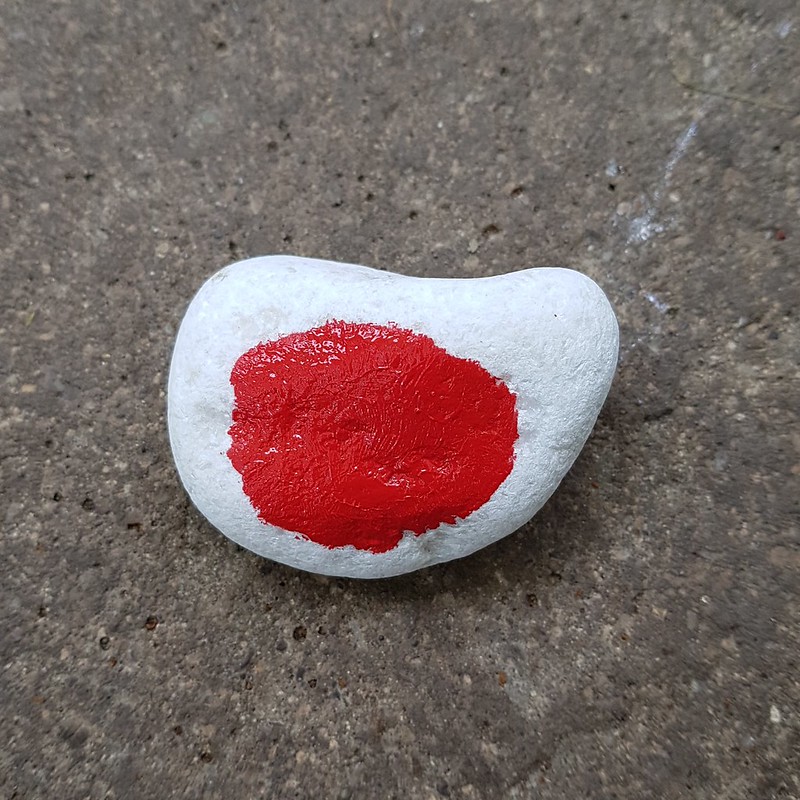
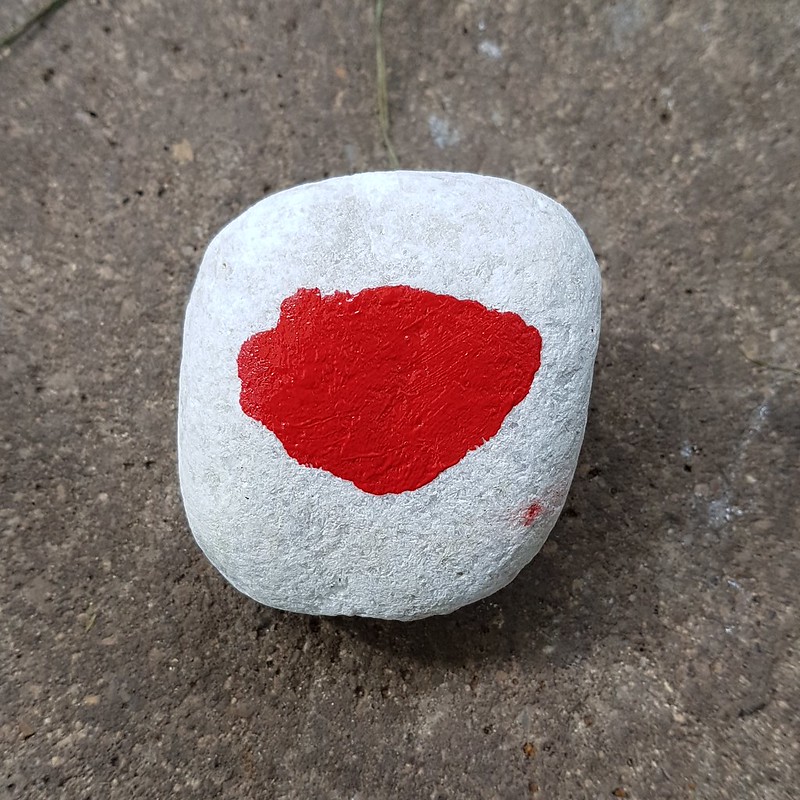
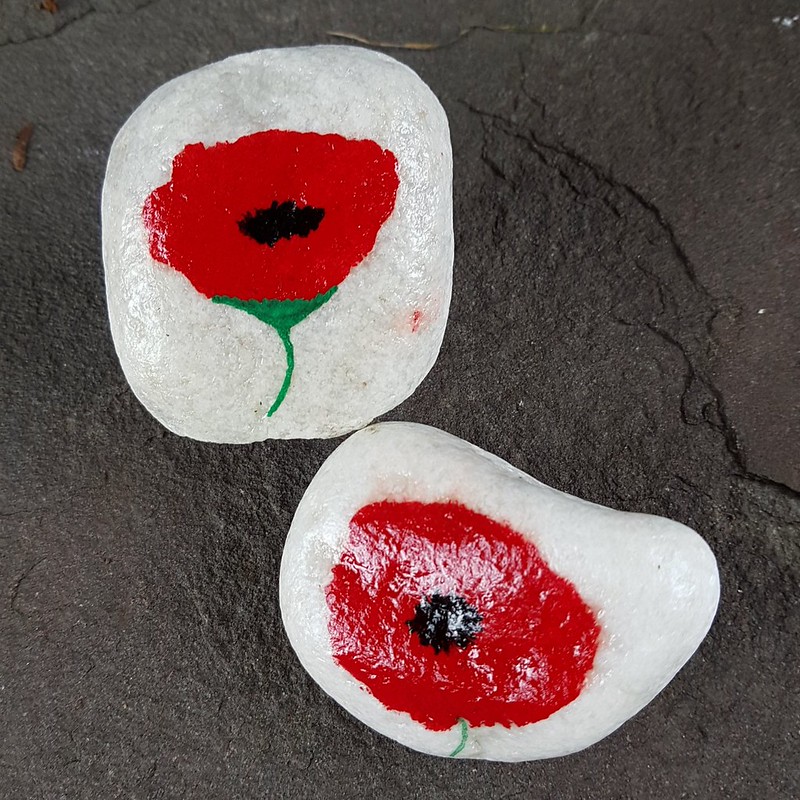
You will notice the two different shapes on the resulting red paint after being dabbed onto the rocks.
The one on the left is more circular whilst the one on the right has more of a fan or a 'v' shape.
The one on the left is more circular whilst the one on the right has more of a fan or a 'v' shape.
3. Add a black centre.
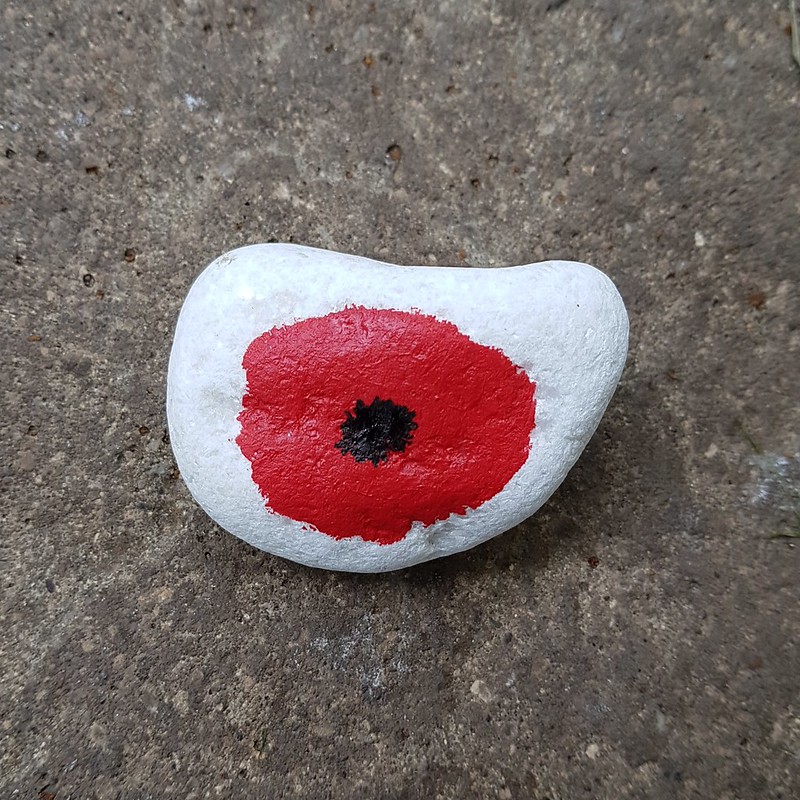
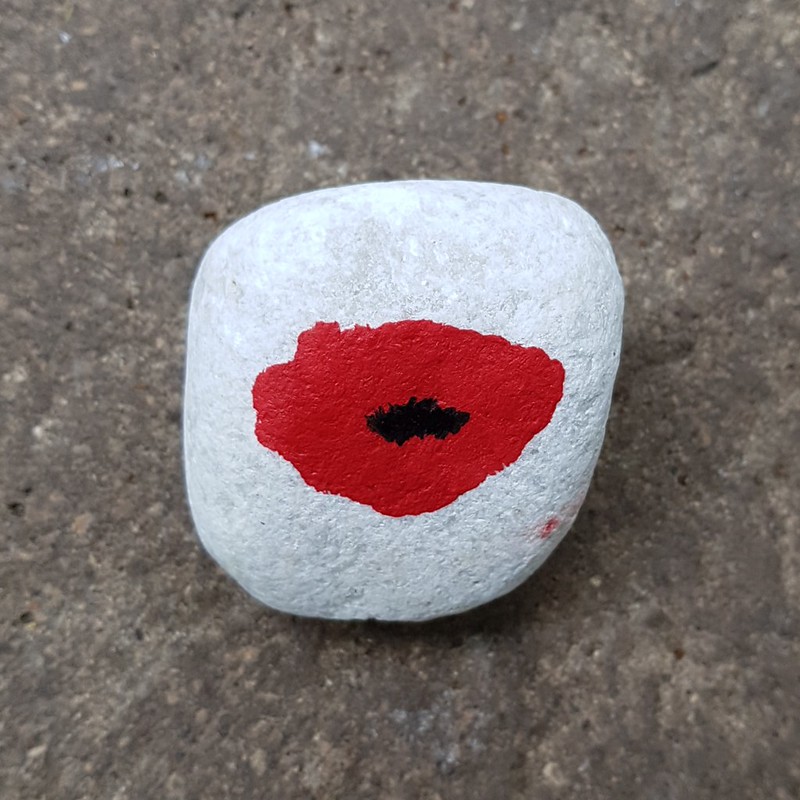
Once dry and using the same process, dabbing, dab a black centre into the middle
The one on the left, which is more rounded in shape, add a rounded centre piece.
The one of the left, the more 'v' shape, add an elongated or oval-shaped centre. Perfection is not key here at all
4. Add a green stalk - optional.
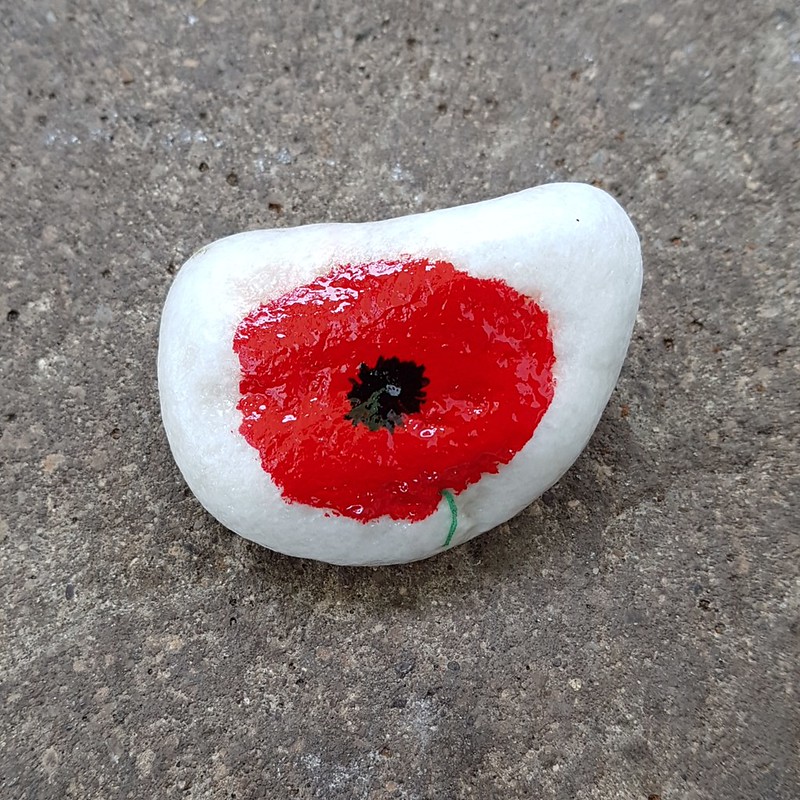
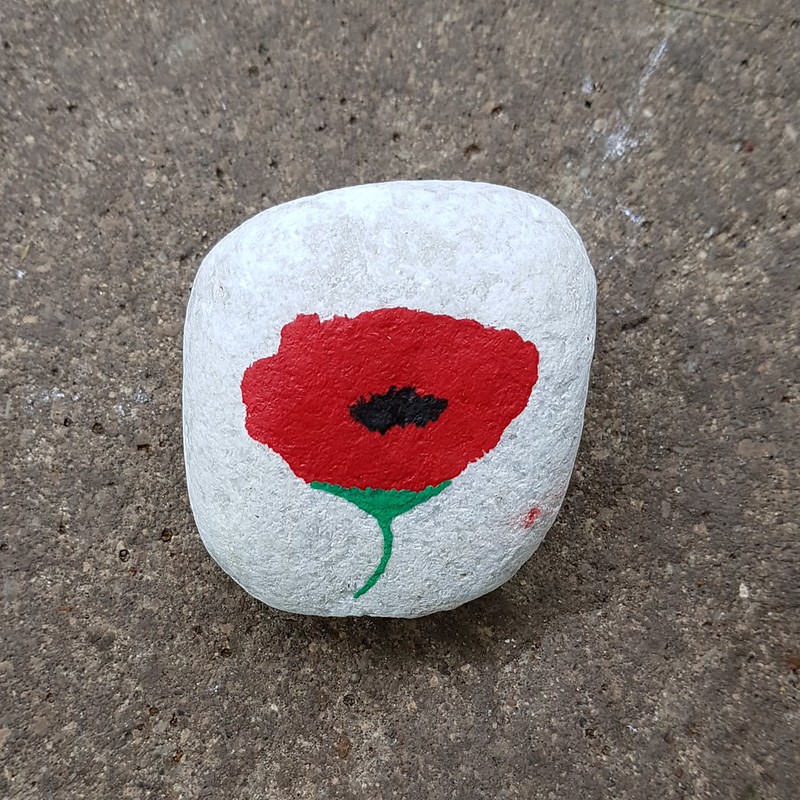
The rounded one on the left has a small line to represent the stalk, whilst the one on the right has a green cone shape and the stalk.
You can leave them off if you prefer.
5. Paint in a leaf (optional).
There are two 'schools of thought' as to the positioning of the leaf on a Remembrance Day poppy ...
- If the poppy was a clock, then the leaf should be positioned at the 11 o'clock position on the poppy - symbolic of the time the end of WW1
- It matters not where the position of the leaf is
The choice as to where you place your leaf, if you place one at all, is your choice.
For these rocks, you simply need to give an 'impression' of a leaf. It will not require details as the other poppies do.
6. Outlining
There is no need to outline these poppies. A real poppy does not have perfect edges on the petals so we can leave the outlining off.
7. Add text to image - optional
You can add 'Lest We Forget' or '# Thank you 100' or both
This part is optional, if you don't want to add the text, or similar suitable text, skip to the next step.
8. Write on the reverse of the rock
Now would be a good idea to write the Taff Rocks message on the reverse. To find out what to write, click here.
9. Seal with varnish
Now would be a good idea to write the Taff Rocks message on the reverse. To find out what to write, click here.
9. Seal with varnish
If you want your work to last, this is an essential step! Check out the FAQ Pages on this step.
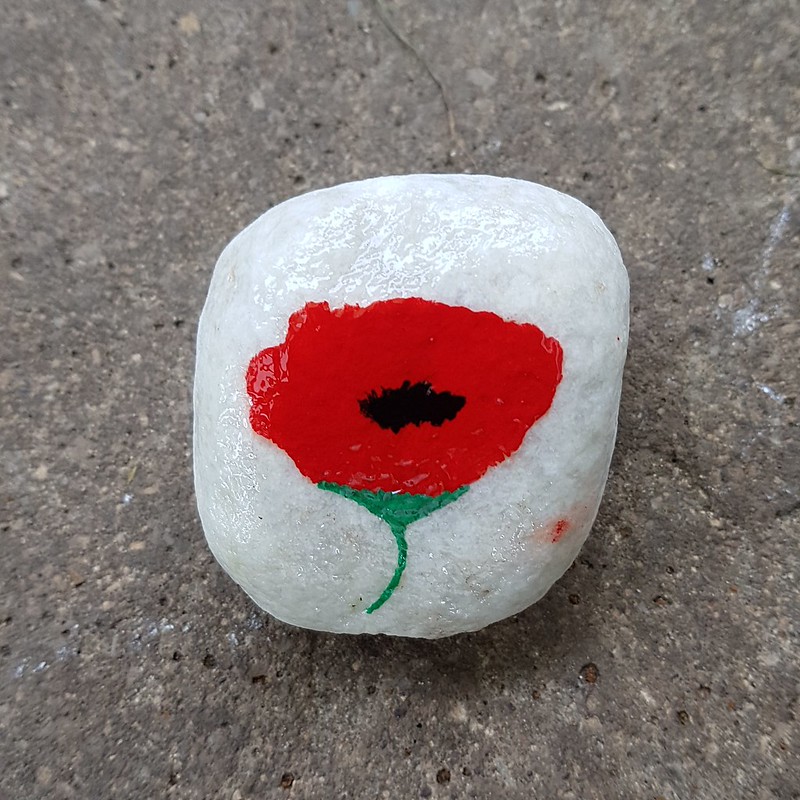
Personally, I use spray lacquer. It's right for me, it may take a few tries to find out what's right for you and your budget.
Resources used when creating this rock!
- These are white, marble decorative rocks purchased from B&Q, but you can use any rock for your creations
- Acrylic paints (both red and black)
- Posca Paint Pens (for the green stalks only)
- Clear exterior lacquer
Should you find any errors on this tutorial, please join our Facebook Group and let us know so we can fix it asap!
