

The purpose of this tutorial is to show you how to create a tree on a rock showing various seasons. Ideally, you would normally choose one set of colours, Spring, Summer, Autumn / Fall or Winter. but for the purpose and ease of this tutorial, we will show you all four on one rock. Individual season rocks will be shown below as they are created by members of Taff Rocks.
The seasons, depending on how to prefer to look at the dates, either meteorologically or astrologically, in the northern hemisphere are as follows:
The seasons, depending on how to prefer to look at the dates, either meteorologically or astrologically, in the northern hemisphere are as follows:
| Season | Meteorological | Astronomical | ||
| Start | End | Start | End | |
| Spring | 1st March | 31st May | 20-21st March | 21-22nd June |
| Summer | 1st June | 31st August | 21-22nd June | 22-23rd September |
| Autumn / Fall | 1st September | 30th November | 22-23rd September | 21-22nd December |
| Winter | 1st December | 28/29th February | 21-22nd December | 20-21st March |
On the rock shown in this tutorial, you will see pencil dividing lines, ignore these, they are not required on a single season rock.
1. Clean your rock.
For more details on this, see here.
2. Paint your basic tree shape.
Using a thin brush, or paint pens (as used here), create your basic tree shape. Black has been used here as this the artist's personal preference.

Perfection here is not the key, all that's needed is a basic bare tree shape. Do not worry about errors, they can be covered.
3. Start 'dotting' the colours of your leaves, colours are suggested in each 'season'
Notes:
- A nail dotting tool works well with paints.
- All the leaves in this tutorial are made using dots.
- Dots look great when over-dotted / overlapped.
- Cover some of the branches when dotting.
- Clicking on the images will open a larger view to see the dots more clearly.
3a. Spring ...

Spring could include the smallest of leaves with possibly some blossoms.
For these, use one shade of green with some white, red, pink or all the colours.
These leaves are best made with your finest paint brush, nail dotting tool or the fine paint pens.
3b. Summer ...
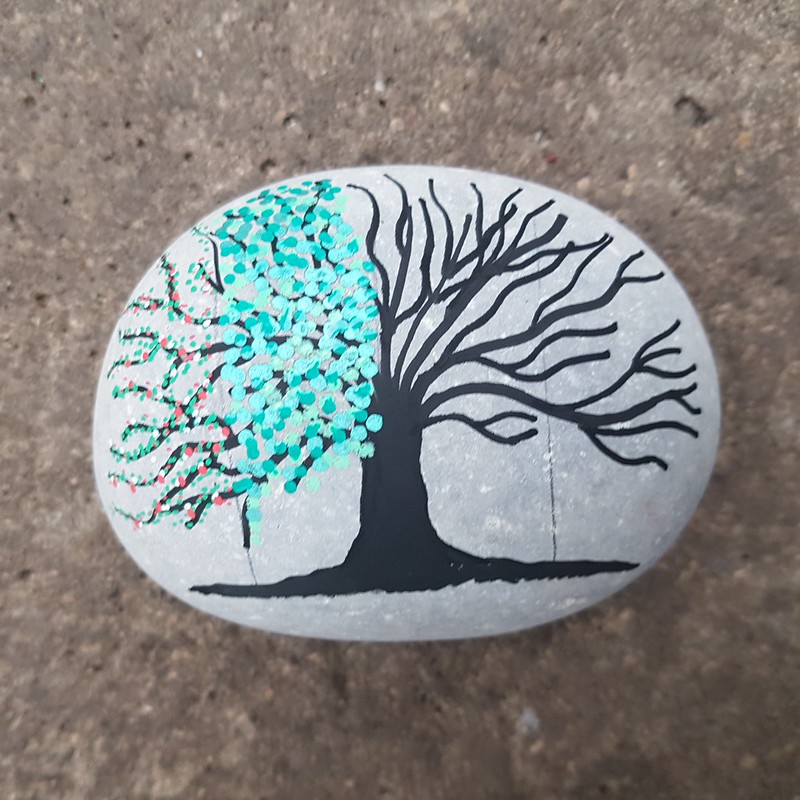
Various shades of green are key here, bigger dots and more over-dotting in each shade of green.
3c. Autumn ...
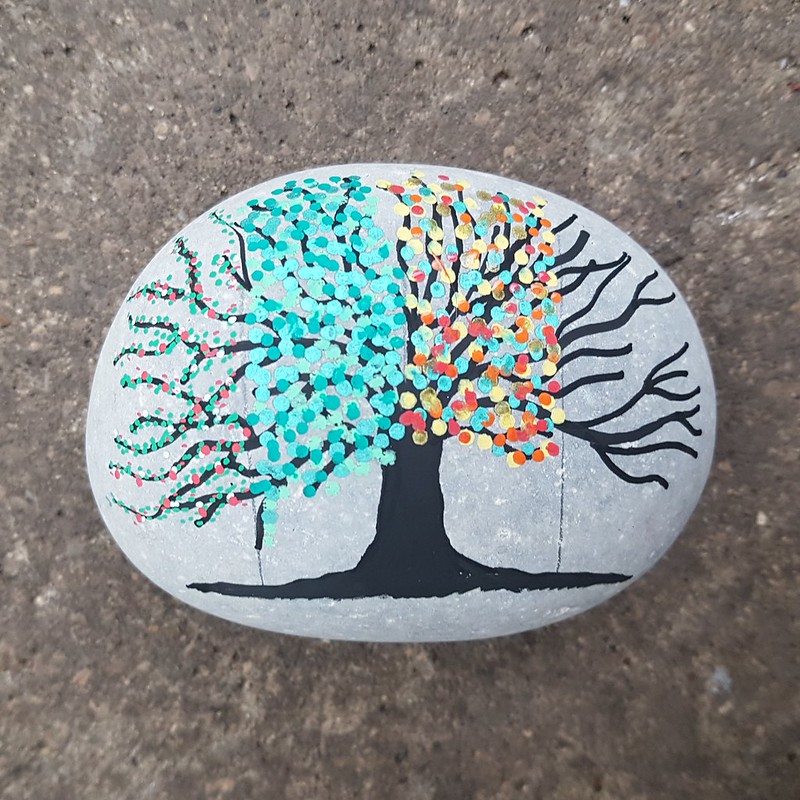
Autumn is fun!
Using both size dots as Spring and Summer, but a few less perhaps, use greens, yellows, browns, gold, some red and orange. This should help show the changing of the leaves over the Autumn months.
3d. Winter ...
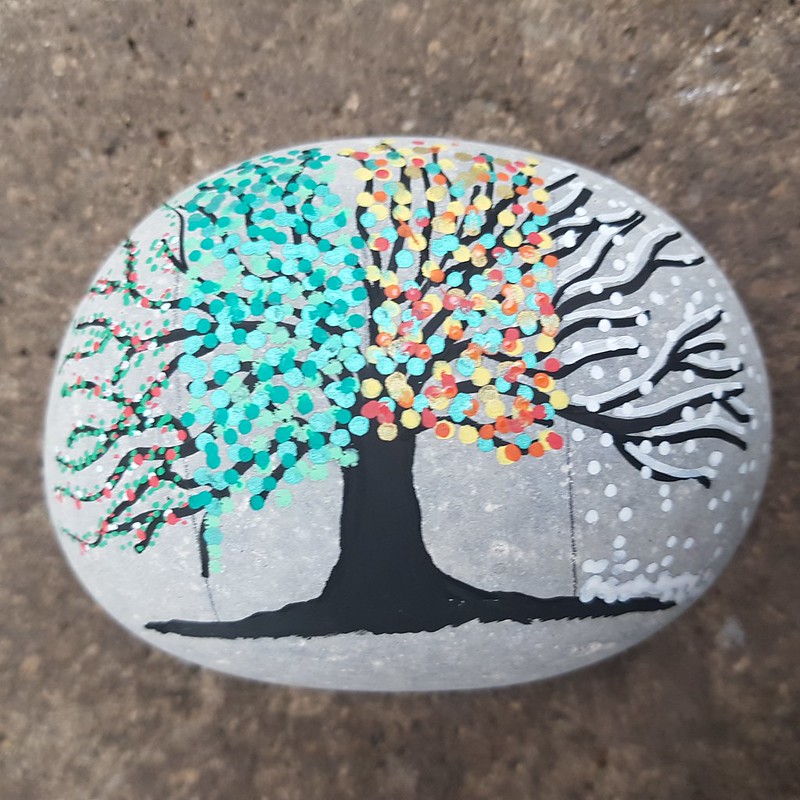
Winter will have no leaves on the tree.
Using a fine brush and white paint, or a fine white paint pen, add a white line to the top of each branch to indicate snow resting on the branches.
Add some snowfall around the tree and on the ground.
4. Touching up
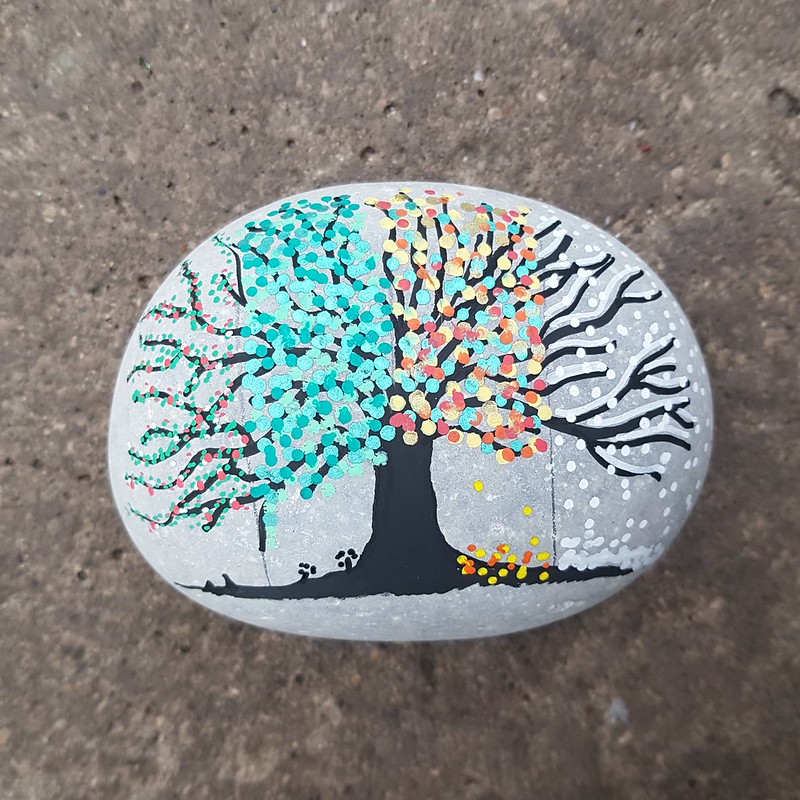
Once the main body of leaves, or snow, has been painted, check to see how it looks. You might find that some grass growing under the tree might look good, some fallen leaves, flowers, extra snow etc. might add to the amazingness of your rock!
5. Write on the reverse of your rock.
Write your Taff Rocks message on the reverse of your rock. If you need help with this, click here.
6. Seal your rock.
If you want your work to last, using a sealant will help it last longer. For some ideas on sealing your artwork, click here.
Taff Rocks Members examples:

An example of a Summer rocks creation

An example of an Autumn rock creation.
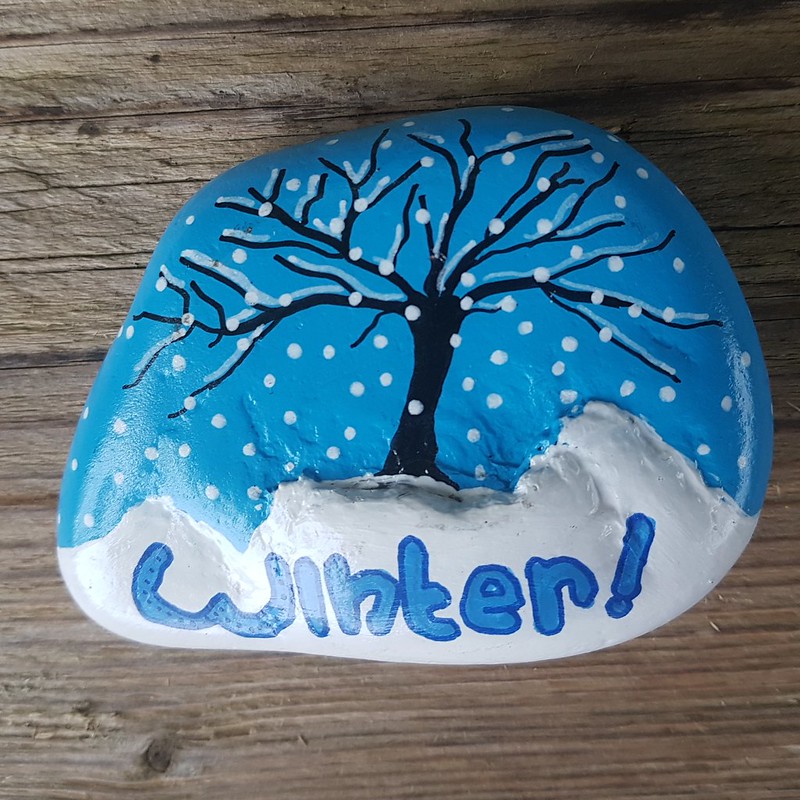
An example of a Winter rock creation.

Add your own flair, like 'Sadie' has.
No comments:
Post a Comment
Note: only a member of this blog may post a comment.