
Snowmen are known for being a little 'flakey' but not these guys, or girls!
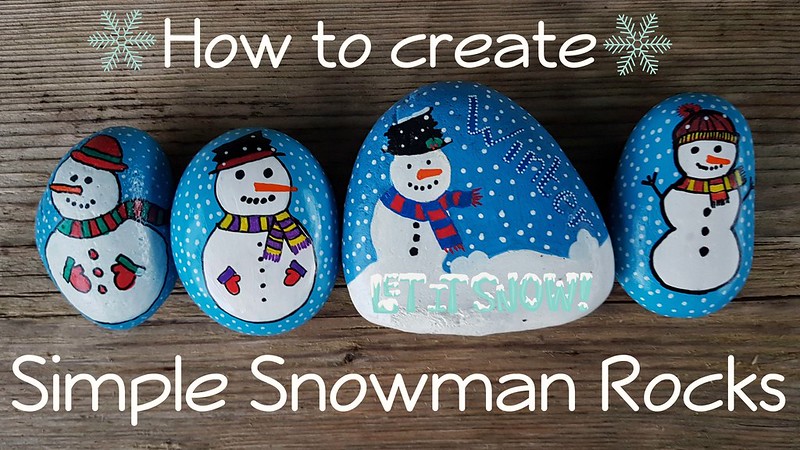
It's snowtime folks! Let's create a simple snowman on a rock for the cosy, cold nights in and create warm memories with family and friends! Create them anytime!
In this tutorial, Taff Rocks will show you how to paint a snowman, in two different ways, each as simple and effective as the next. We will also show you some choices you can add or leave out.
We are going to show you how these two snowmen were created. In most of our tutorials, you will see that we outline using a pen, this is for clarity in the photographs, you can use a pencil.
1. Clean and prepare your rocks
Wash and dry your rock. For more information on the basics of preparing, painting your rocks, and what paints and pens you can use, check out this tutorial, it will also give you details on sealing your rock to protect the image and help it last longer.
2. The first layer or undercoat

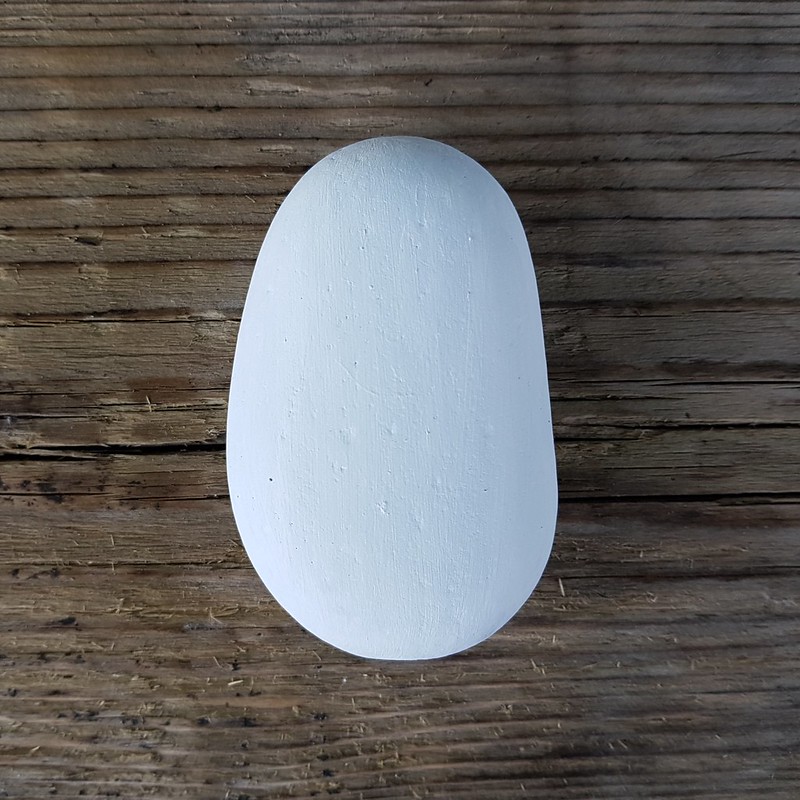
How you start your creation off is a matter of choice, you can either start with the background colour (on the left in blue) or white (on the right in white). Be mindful that the darker your base coat, the more white coats for the snowman you may need.
You can, of course, not have a base layer at all. If you love the colour of your rock in its natural state, then why not leave the base colour out?
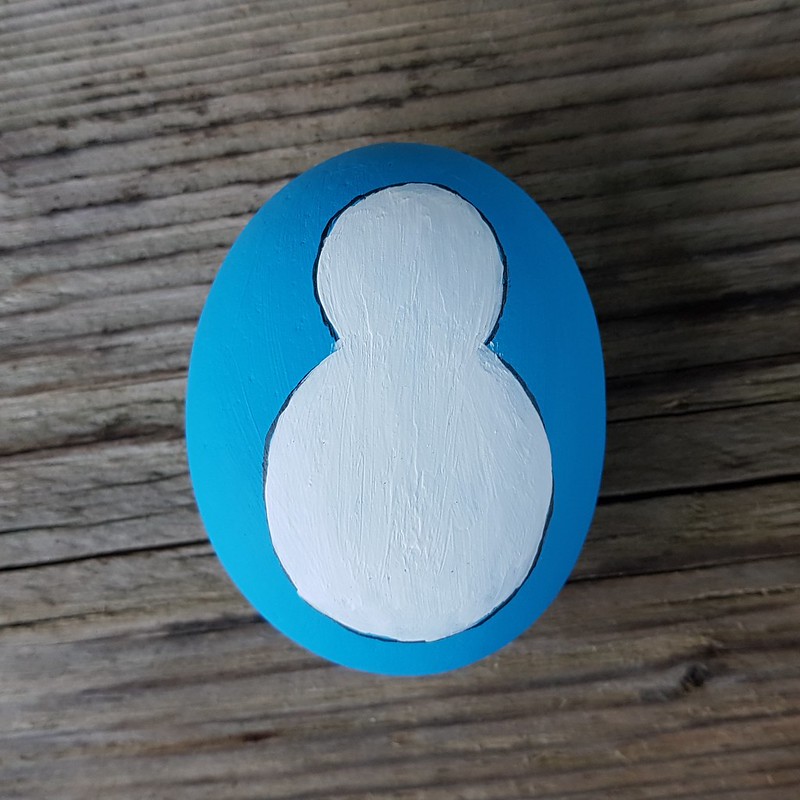
3. Draw/sketch your outline


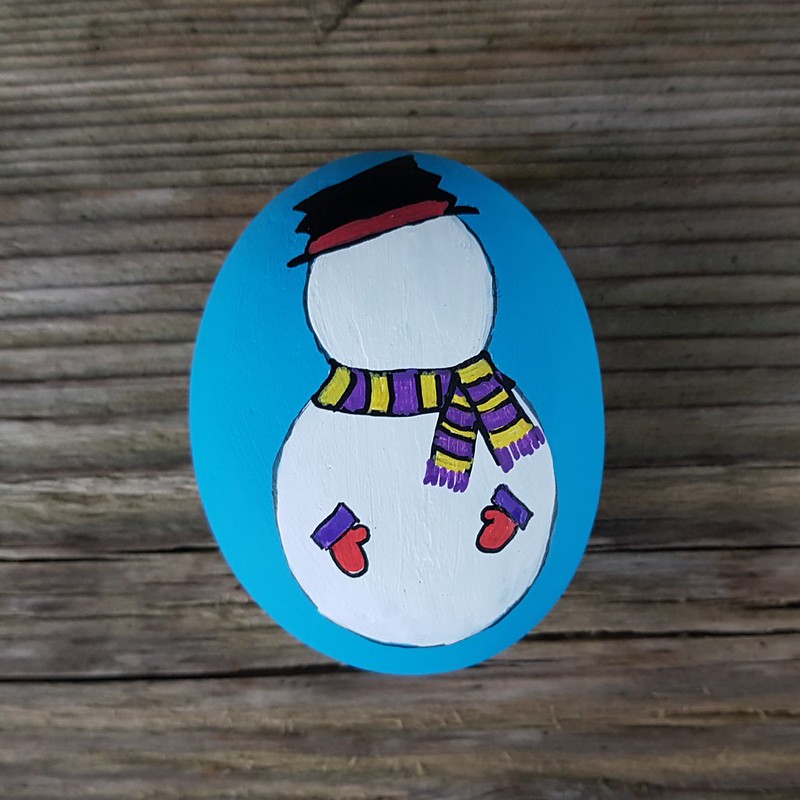
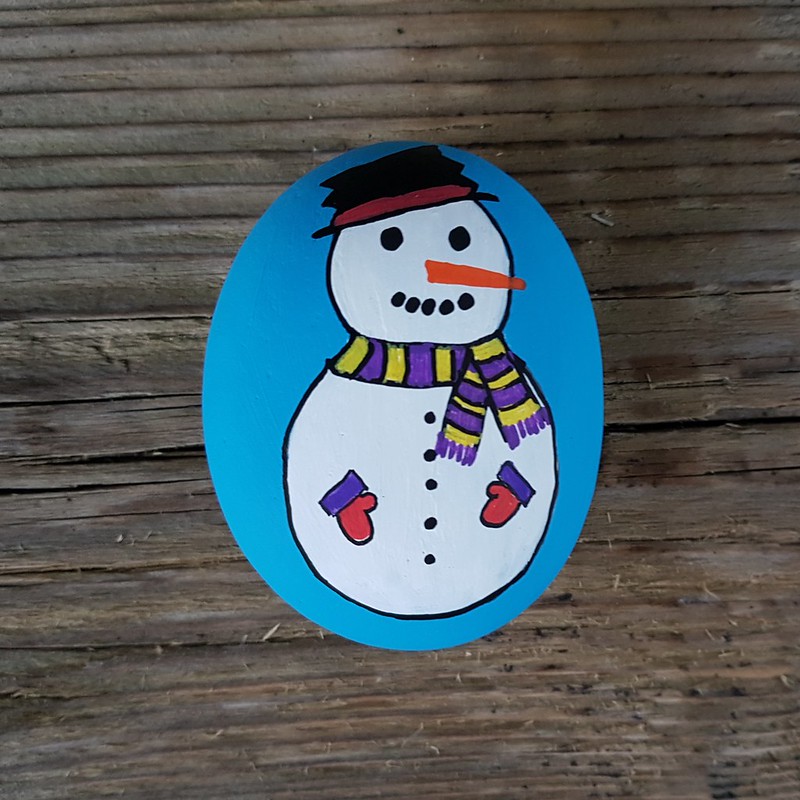
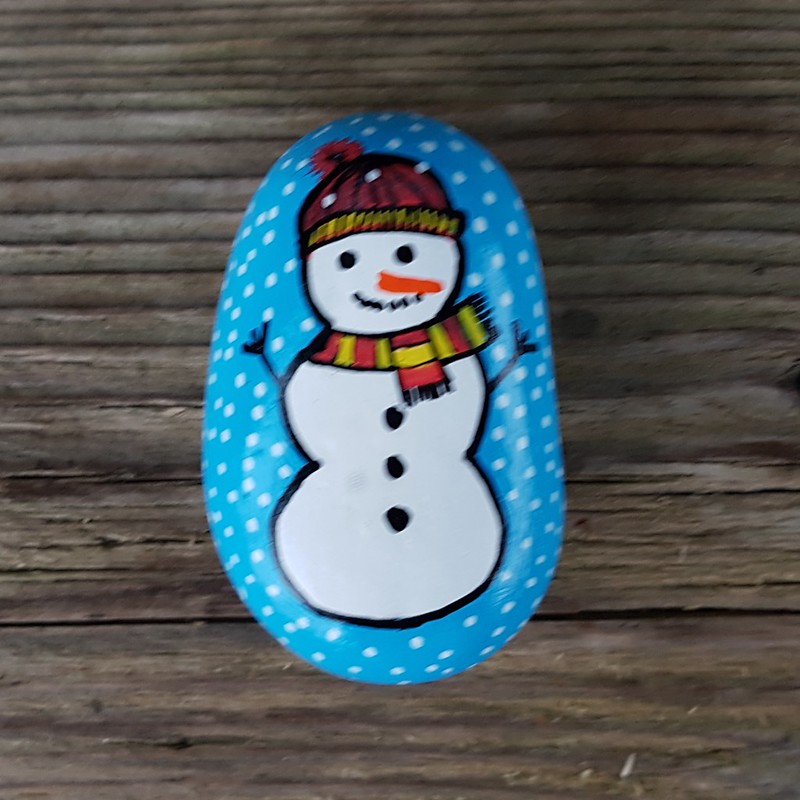
We have two shaped snowmen to chose from here, on the left is a 'two ball' snowman and on the right is a 'three ball' snowman.
Starting at the bottom, draw the largest of your snowballs leading up to the smaller snowballs. If it's easier starting at the top for you, do it that way and start with the smallest to the largest snowball.
4. Fill on the 'blanks'
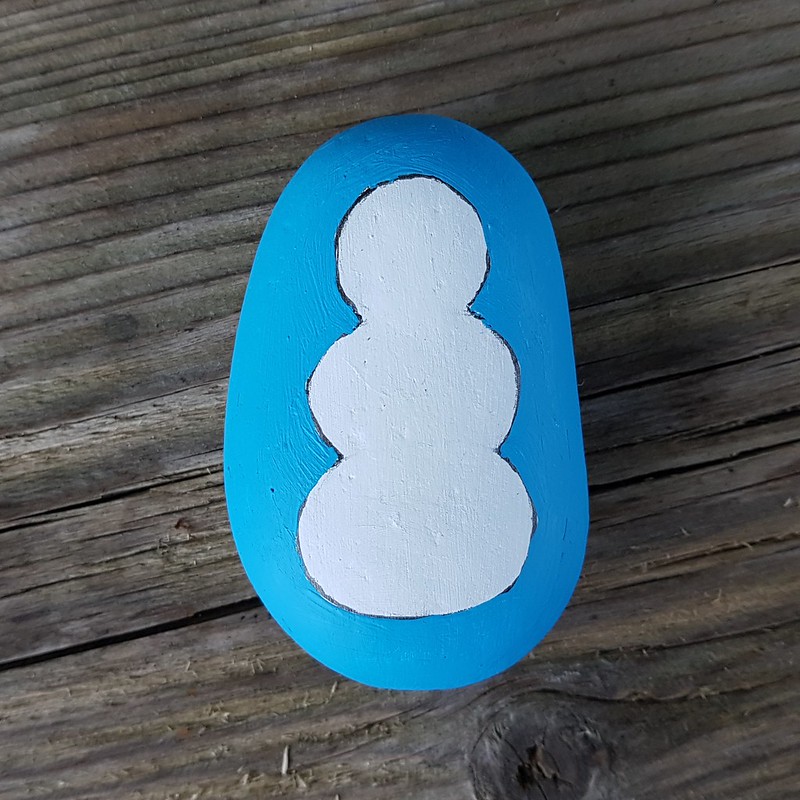
Depending on what colour your base layer is, will depend on how to fill in the blanks in this stage. If your base colour was dark (left) then paint or use your paint pens, to fill in the snowballs in white. You may need more than one coat.
If your base layer was white and you want to have a colour for the background of your snowman, then carefully paint around the line and fill in.
You can choose to leave this white if you prefer or, if you have chosen a natural background, then there's no need to fill in the blanks.
5. Hats and/or scarfs (optional)
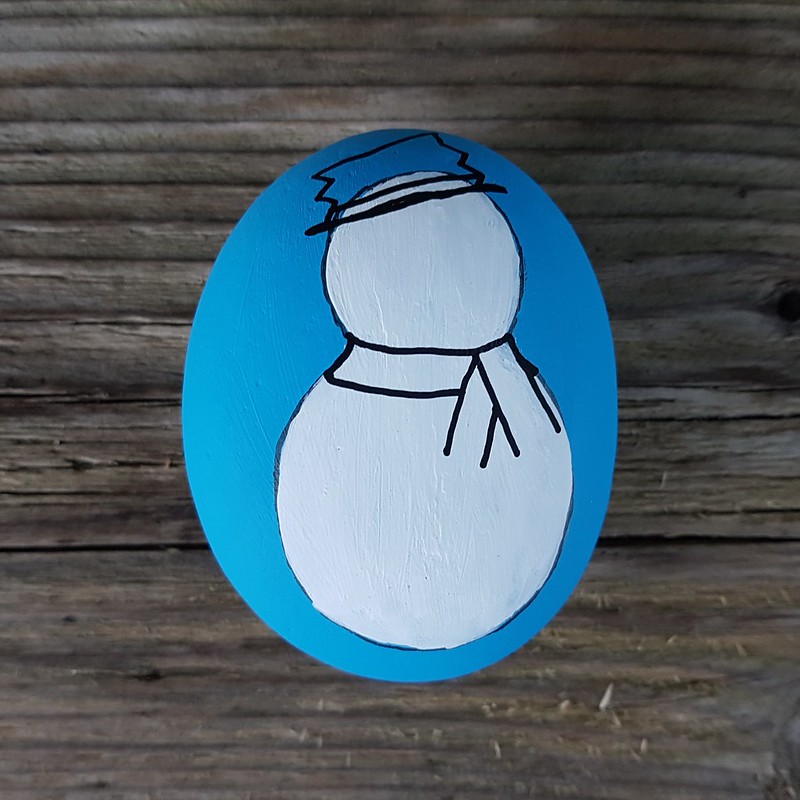
Hats and scarfs are totally optional, but I think that, sometimes, they add a little 'character' to your creation. Draw the outline of your hat
- Hat: A crumpled top hat (left) or a bobble hat (right) you can even choose a bowler hat (see 'options' below) or any hat you decide. What's to say your snowman can't wear a sombrero or a Stetson (cowboy hat)?
- Scarf: If you choose to add a scarf, your scarf can either be 'folded' around the neck (left) or blowing in the wind (right).
6. Paint them in
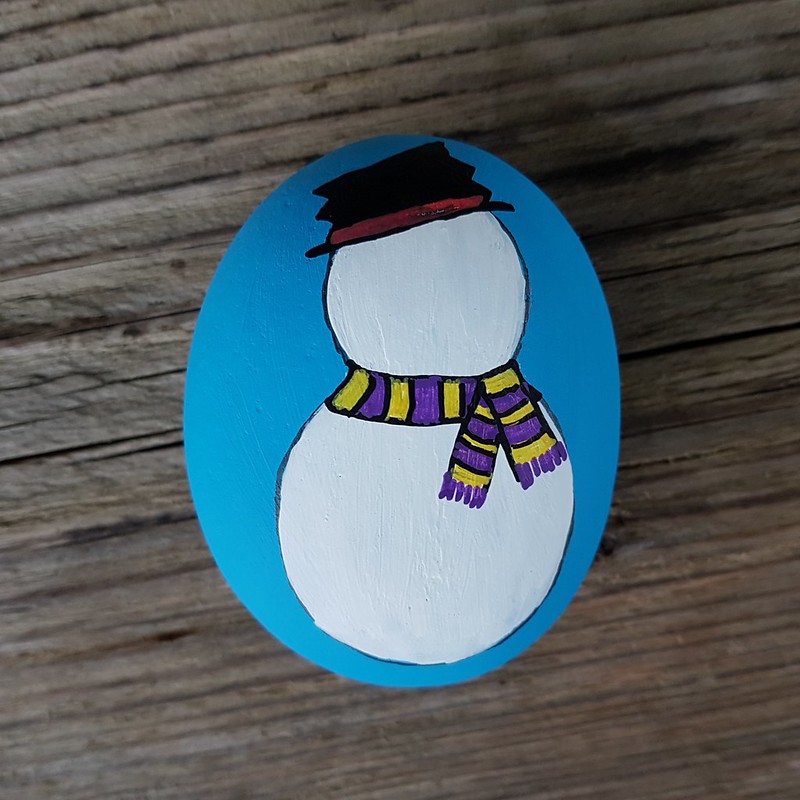
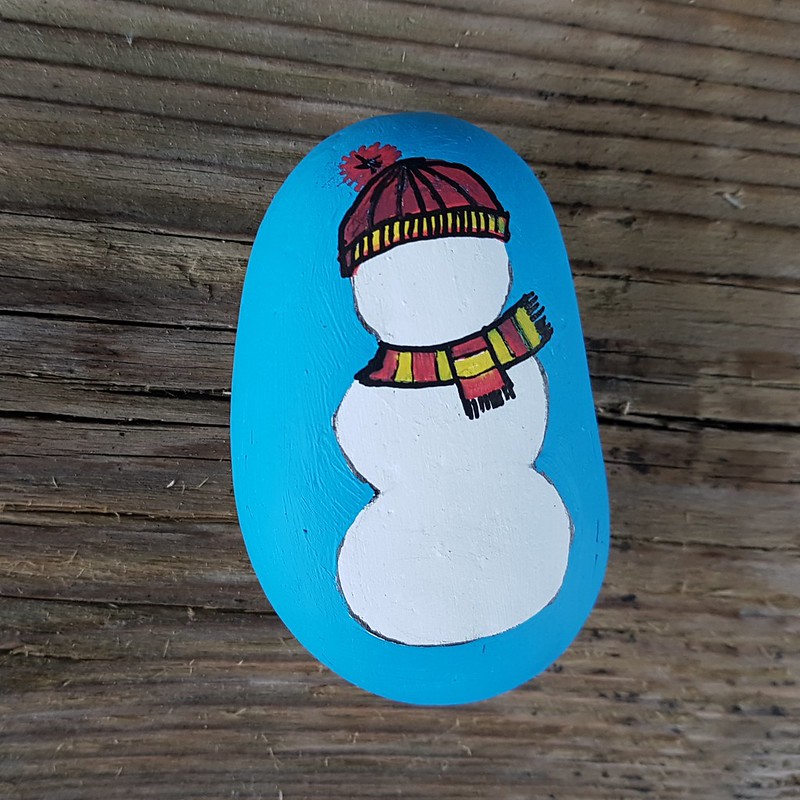
The crumpled top hat here (left) has been painted in black with a red band and this snowman is wearing a purple and yellow stripey scarf, whilst the bobble hat and scarf of the one on the right has been coloured in with red and yellow.
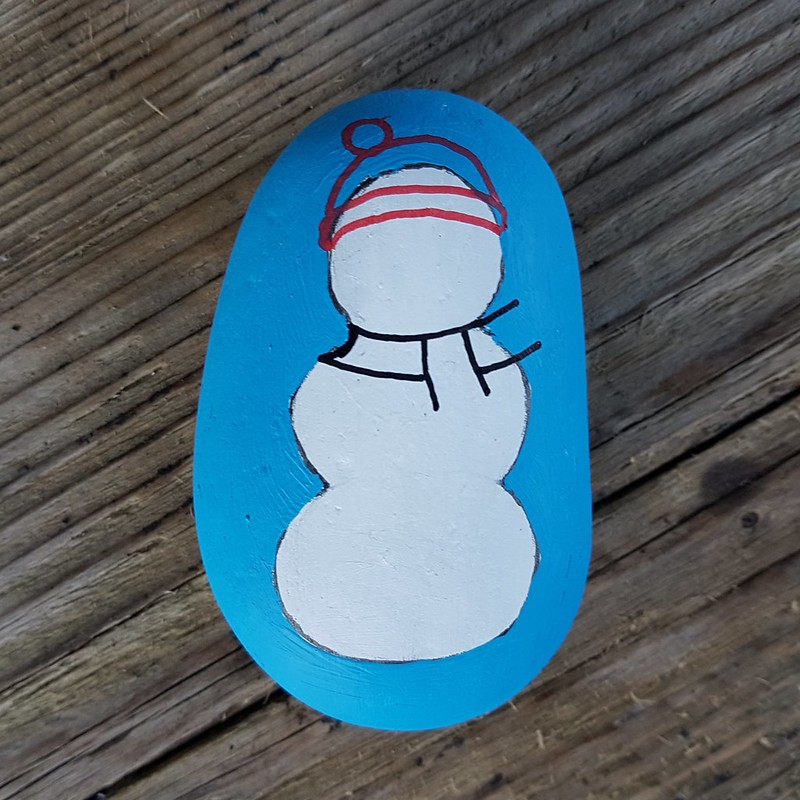
7. Hands and arms (optional)

I have chosen to show two types of hands/arms for this tutorial.
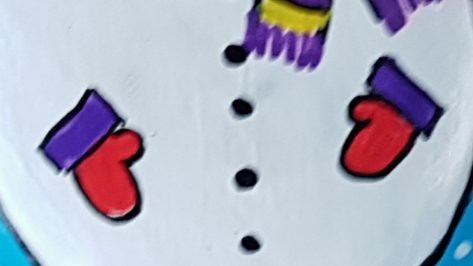
A pair of red gloves with a purple trim for the snowman on the left and ...
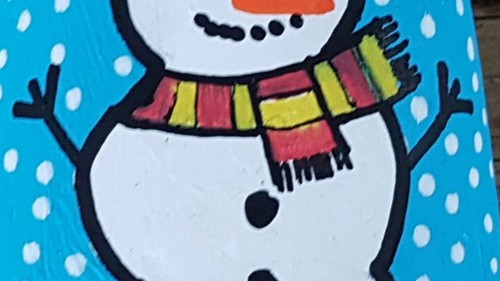
... arms using twigs or branches on the snowman on the right. You can, of course, leave the arms out altogether (see 'options')
8. Faces, buttons and outline

I believe every snowman should have a face, that warm smile and cute carrot nose just 'makes' a snowman.
- Nose: I did the nose first as this will help with the placement of my eyes and mouth. Using orange, to represent a carrot, draw in your nose, starting in the middle of the face and bringing it out to one side. The length and shape of your carrot is your choice. However, bringing it out to one side, I have found from experience, is the best option
- Eyes: Two little black dots, they don't have to be perfect, after all, you have probably found out how imperfect stone shapes are by now. If you are concerned that you might make an error in placement, start with a pencil first.
- Mouth: For the mouths on my snowmen here, I started with one dot right in the centre at first, then worked my way up both sides to make these adorable smiles.
- Buttons: These are optional, the quantity is also a matter of choice and so too is the colour (see 'options'). Either way, a few little buttons down the centre of the snowman's body will add to its awesomeness!
- Outline: You can outline your work to give more definition, I have done mine in black, but you can use blue, dark blue or any colour your wish, you can even leave the outline out (see 'options')
9. It's Snowtime! (optional)
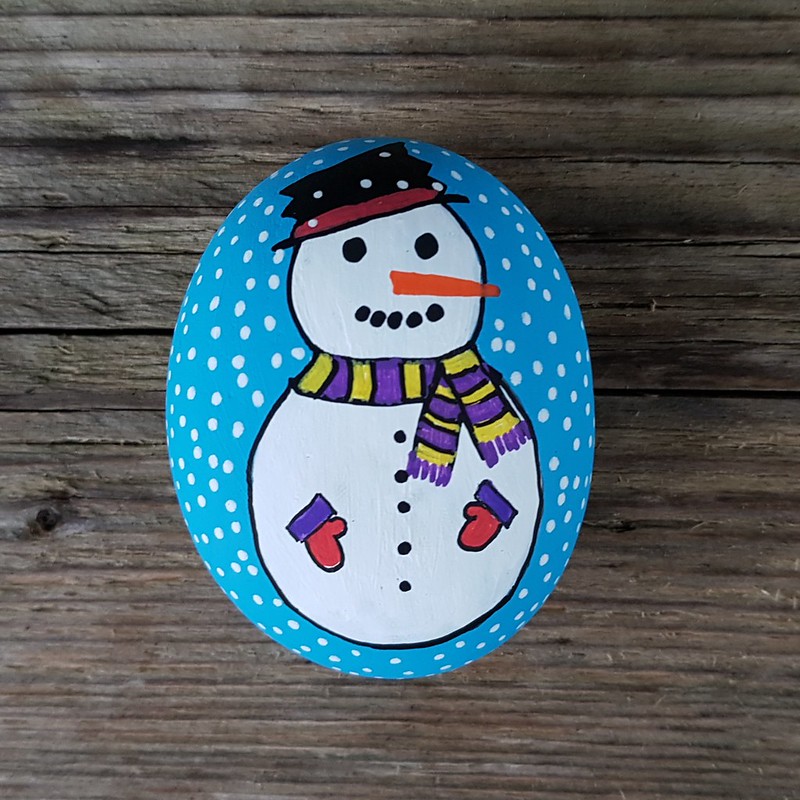

A flurry of snow in the background of your rock will add to the effect of cold winters and truly shout out to finders that "It's Snowtime!"
Just add dots, I have seen some rocks made with stars to show snow, but this is a personal choice.
10. Write on the reverse of your rock
Before you seal your finished work, don't forget to write on the back of your rock so finders will know where to post it. For help with what to write, see here
11. Seal your rock

Spray your rock with your chosen sealant and allow to dry.
For help with sealing your rock, check out the tutorial on How to Prepare and Paint Your Rock or a list of what you can seal it with and where you can purchase it from, see here
12. Options
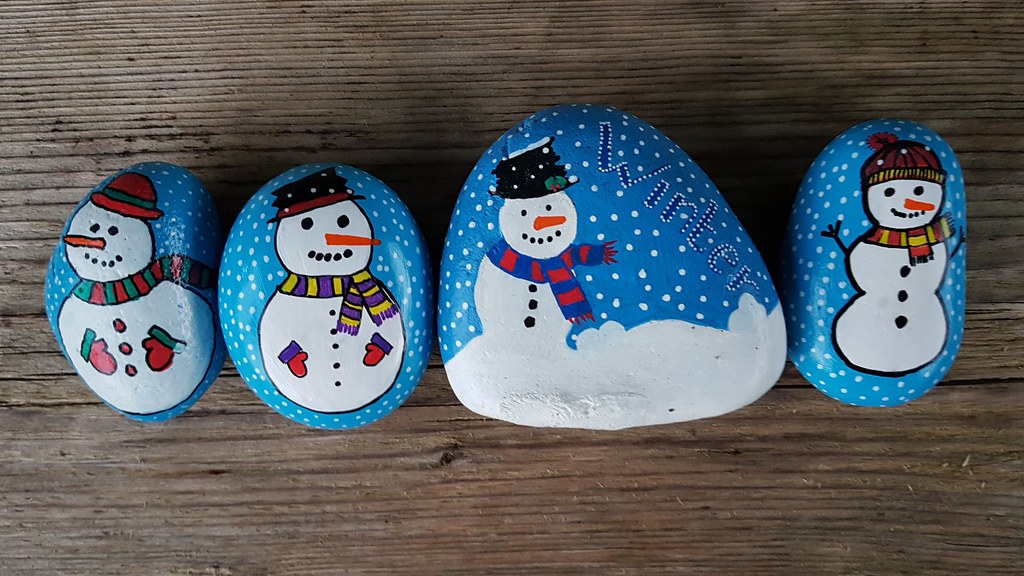
From left to right:
- A red bowler hat with a scarf really blowing in the wind
- A rock in this tutorial
- No outline on the snowman at all; no arms or hands either; plus some additional snow at the bottom of your work to set a scene and have your snowman standing on a mound of snow
- A rock in this tutorial
13. Hide your rocks where they can be found
Add your finished work to the Taff Rocks group and share with the other Taff Rocks Members for inspiration, then hide your rocks where they can be found. For a list of cool places to hide your rocks, click here
Useful links in this blog:
If you'd like to submit a tutorial for this blog, click here to find out more and what is required
This tutorial is also available to purchase as a soft cover magazine. All profits from the sale will benefit Taff Rocks as the author has agreed to donate them all to Taff Rocks to help further our aims.
This tutorial is also available to purchase as a soft cover magazine. All profits from the sale will benefit Taff Rocks as the author has agreed to donate them all to Taff Rocks to help further our aims.
No comments:
Post a Comment
Note: only a member of this blog may post a comment.