The daisy-eyed smiley is a simple, little creation that anyone can have a go at. All you need is some imagination with the background colour because, in all fairness, it's the various colours that make these look amazing.
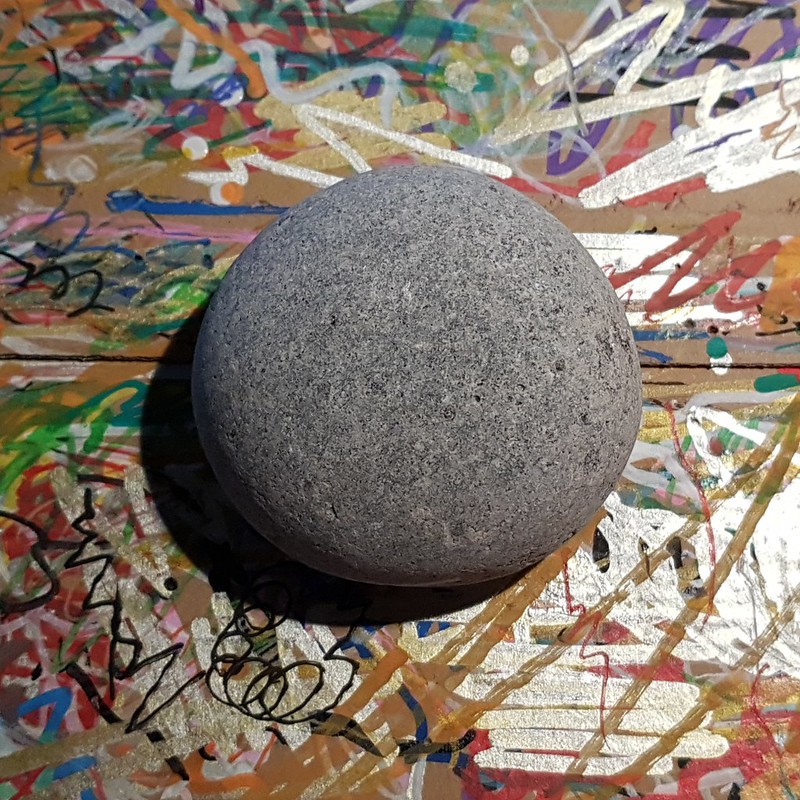
- A smooth rock
- A base colour acrylic paint of your choice (optional)
- Your main colour acrylic paint
- A black fine-liner acrylic paint pen
- A white fine-liner acrylic paint pen
- Varnish, spray on or paint on, it's your choice
This is such a simple tutorial that I am not going to interrupt its simplicity with loads of text. I'm going to use just the image and very limited text, if any at all.
Use a base colour only if your top coat needs it.
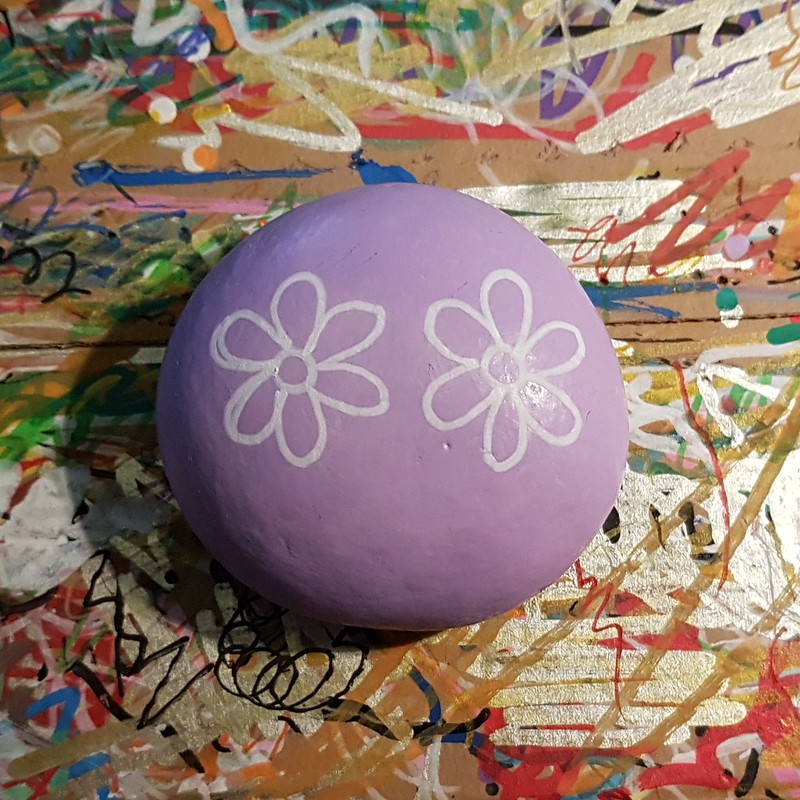
Start the eyes with two, white, centre circles at a distance apart that will allow room for the petals. Don't worry if they're too far apart, you can always create bigger petals later on.
Draw in the petals. If you make an error or want them bigger, now is a good time. But you can also make them bigger later.
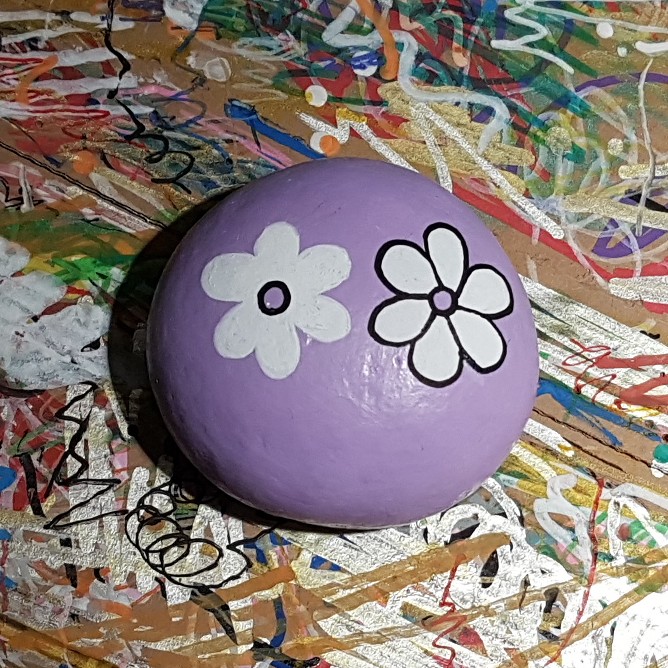
There is no need to colour the centre circle when outlining the eyes
After you've outlined they eyes, starting by the centre circle, add little lines up the petals.
Add your big, smiley mouth. The bigger or wider, the more happy your little rock will look.
- For help sealing your rock, click here.
- If you need help with what sealant to use, click here
If you need help creating and sharing rocks, here are some previous publications that can help you:
- Preparing and Painting Rocks
- Cool Places to Hide Your Rocks
- Not-So-Cool Places to Hide Your Rocks
- Basic Do's and Do Not's
- What to write on the back of your rock
Check out the FAQ and, if it's not there, ask on the Facebook group, we'll all be happy to help!


No comments:
Post a Comment
Note: only a member of this blog may post a comment.