
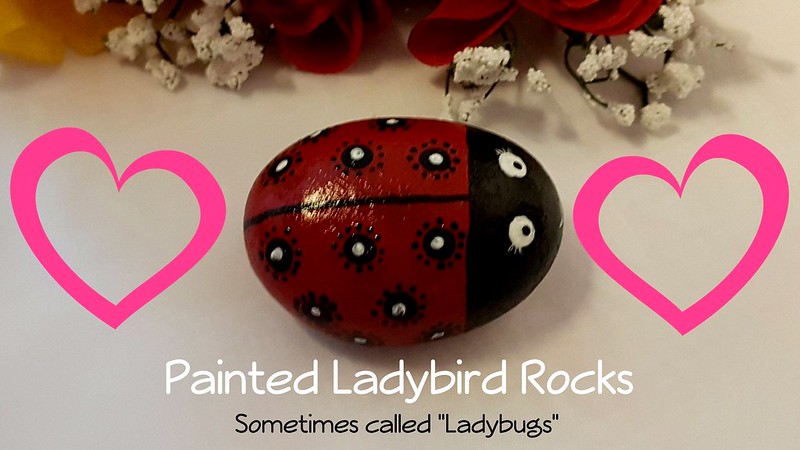
Painted Ladybird (Ladybug) rocks ... the 'staple' rock for seasoned Rockers (rock painters) and beginners alike. They're as simple or as complex as you wish. But a basic ladybird is always a favourite.
For this rock, you just need black, for the head section, white, for the eyes and a colour of your choice for the body (in this tutorial, this additional colour is red). A pencil might be of use and, not forgetting, paintbrushes.
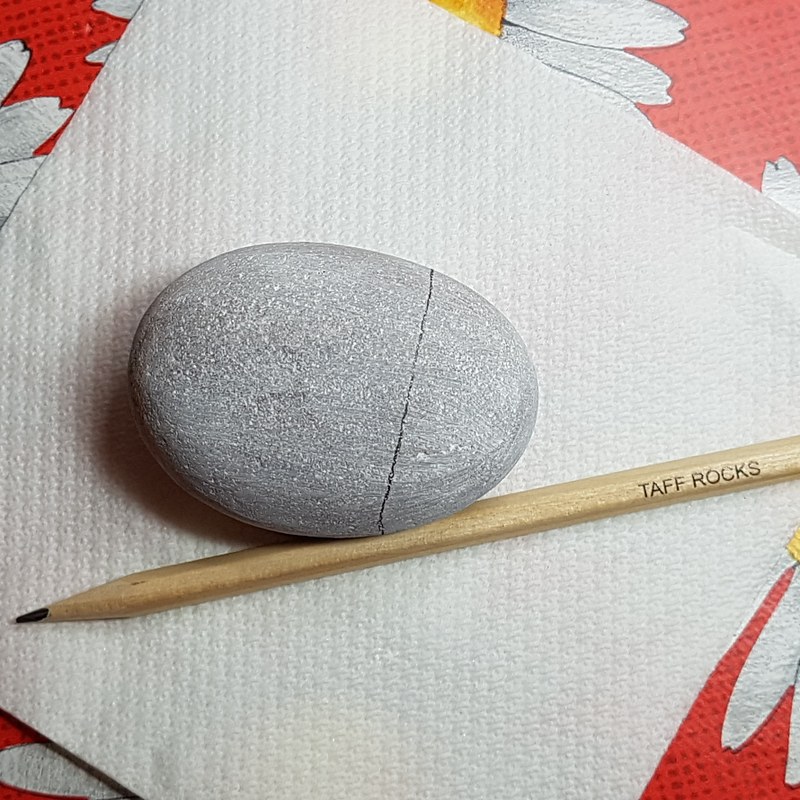
1. Wash and dry your rock. A good round flat rock an egg-shaped rock, in fact, any rock that looks like it would make an awesome ladybird rock!
If you need detailed help with Preparing and Painting Rocks, click here.

2. Give your rock and undercoat (optional). If you have a rough or dark rock, then consider an undercoat. You can choose to paint the whole rock or just the top.
Allow to dry.

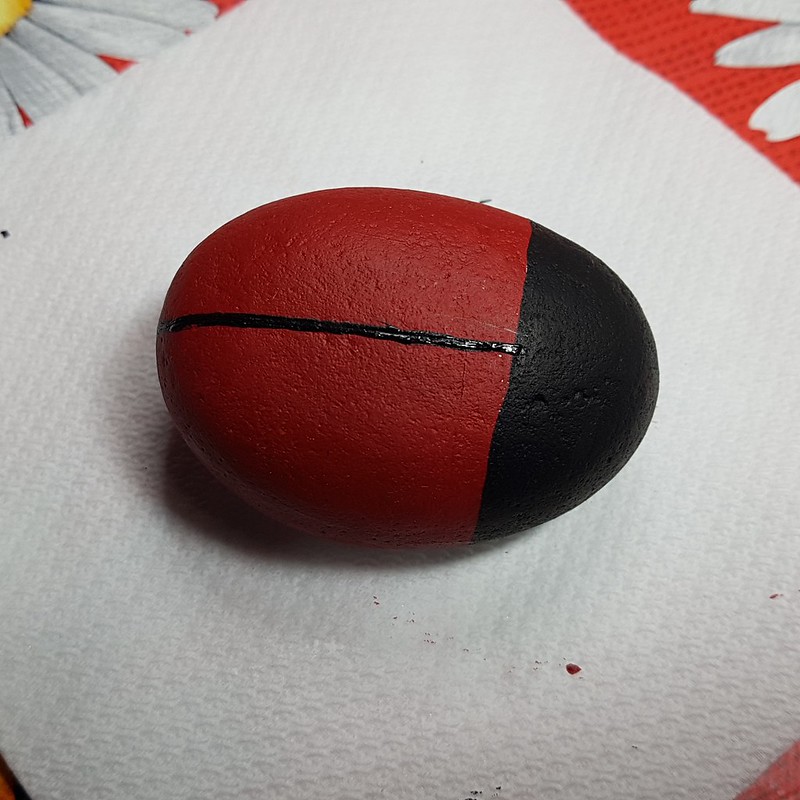
3. Start painting the lighter of the both main colours first. Paint about two-thirds of your rock in your chosen colour (red here). As a guide, make a mark on the rock where you want this to be. Then paint the larger part up to this line.
Allow to dry.

4. Now paint in the black head portion. You may find it easier to paint along the edges first, then fill the rest in with your black paint.


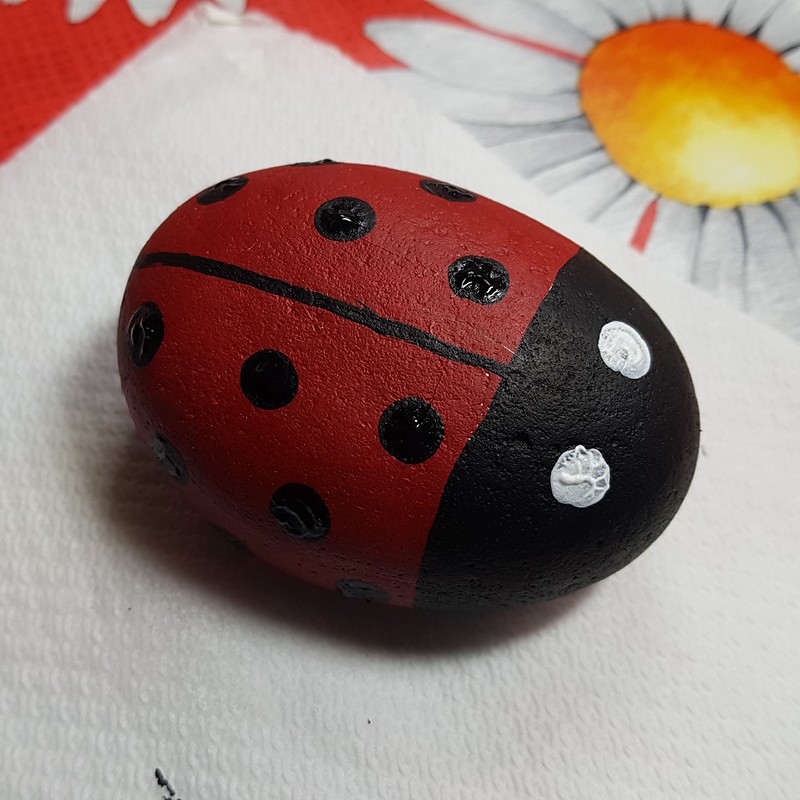
5. Add a line down the middle. A pencil line was used, as a guide, then a very thin paintbrush helped with a thin line down the middle.
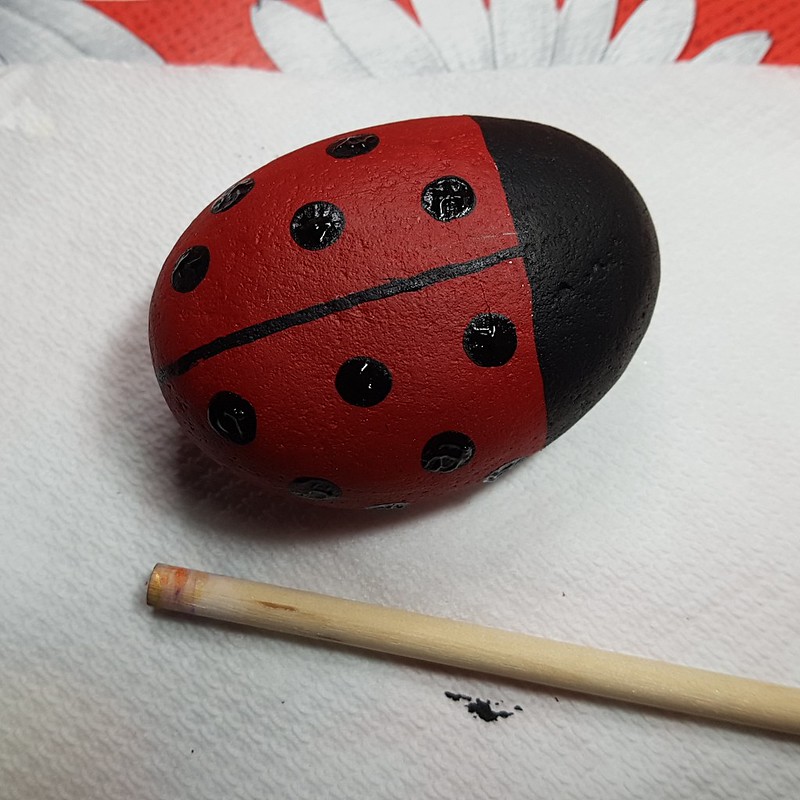
5. Paint your dots. However many you decide to paint, or how, is your choice. For these dots, then end of a thin dowel was used. You can use the other end of a paintbrush or the eraser end of a pencil, if you don't have anything suitable.
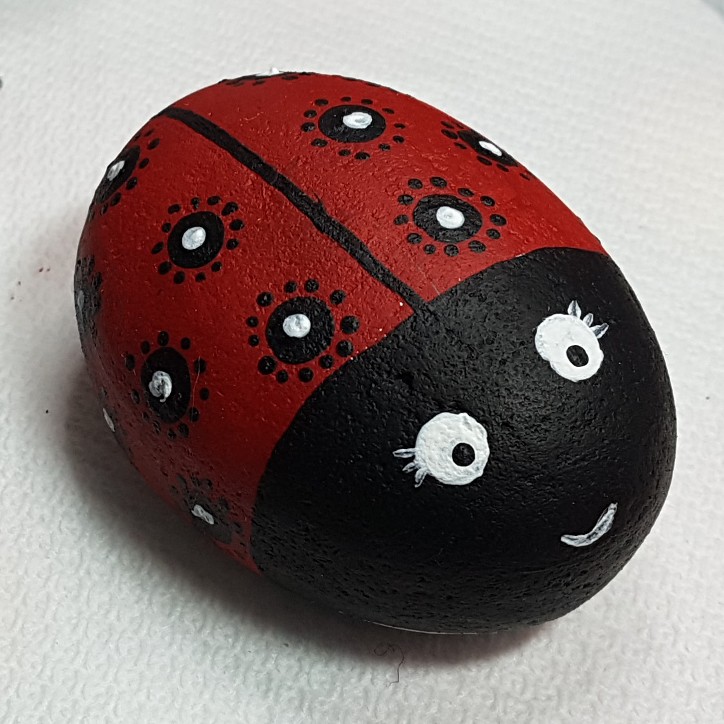
6. Now for the eyes. The same method as above has been used for the eyes. However, they didn't turn out so well, so I went over them with a small paintbrush.

When the paint is dry, using the same method (a stick, dowel or end of a paintbrush) add some small black dots to the white of the eyes. You can also add some eyelashes and a little smile too if you wish.
Do not add other types of embellishments to your rock eg googly eyes if sharing outdoors, they can be unsafe for nature, wildlife, and other children.

You can leave your ladybird as it is or carry on with the next step and add a few extra bits
7. Add a few extra dots for decoration (optional). Using a cocktail stick (sometimes called a toothpick) dip the end in your paint and add smaller dots around the bigger dots.
See other options below.
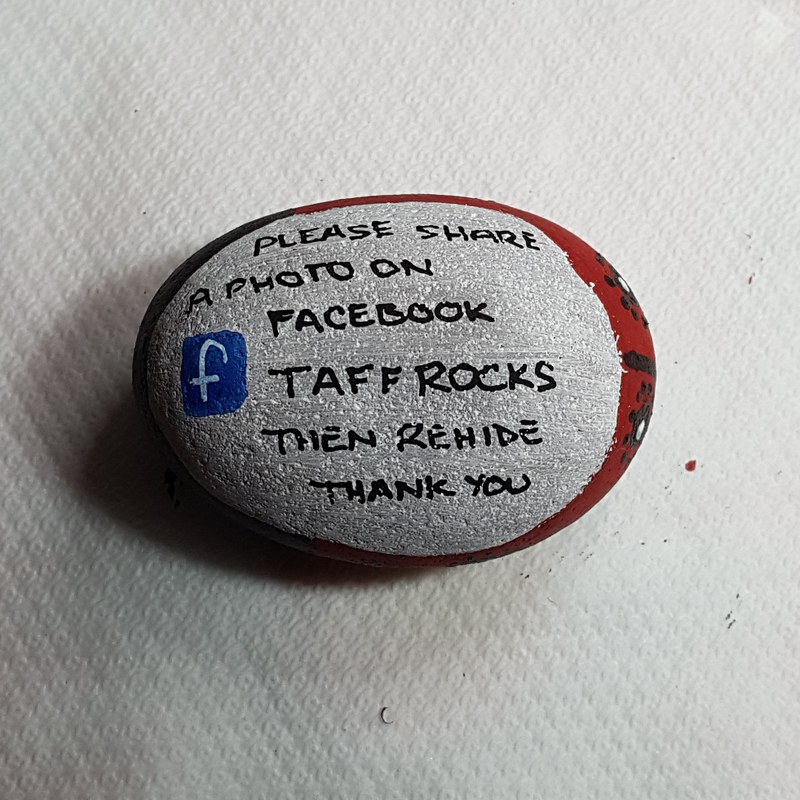
8. Add text to the bottom (optional). If your rock is for Taff Rocks or one of the many fantastic rock groups there are available, consider text on the bottom. For Taff Rocks, click here.
9. Spray your rock with clear lacquer and allow to dry.

10. Allow to dry and share! Add your finished rock to the Taff Rocks Facebook Group so other members know what to look for. Don't forget to add a location to help them along

For a list of cool places to hide your rocks, see below
Here are some options:
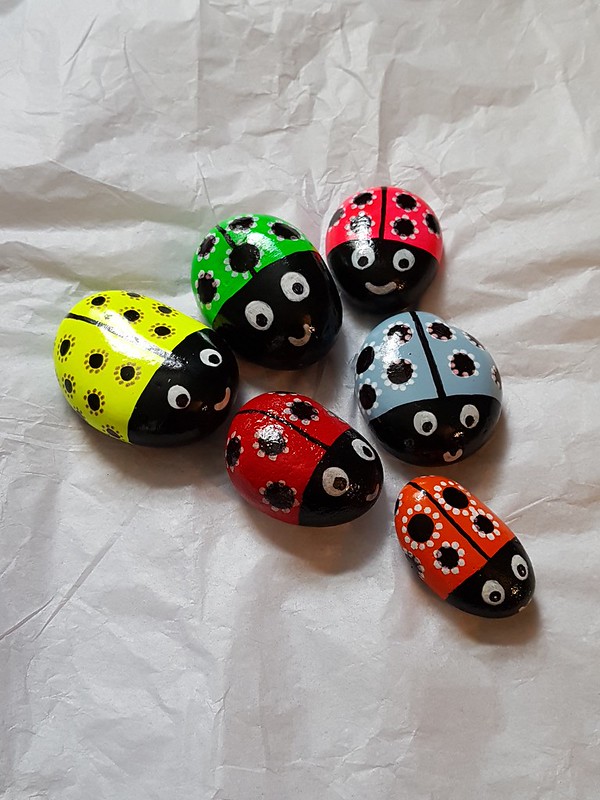


Check for painted ladybird / ladybug rocks on ...
Useful links in this blog:
- Our growing list of tutorials.
- How to prepare and paint rocks.
- Basic Do's and Do Not's.
- Cool places to hide your rocks.
- Places not to hide your rocks.
If you'd like to submit a tutorial for this blog, click here to find out what is required.
No comments:
Post a Comment
Note: only a member of this blog may post a comment.