

This simple little smiley pumpkin will made a fantastic addition to your Halloween display and will certainly make someone smile when set free and shared.
Due to its simplicity, we won't add lots of text in the instructions, but will keep it as simple as possible and minimal text.
- Always remember to wash and dry your rocks first
- Once dried if your rock is dark in colour, give it a base coat on white first and then block paint the whole rocks in a Halloween orange colour
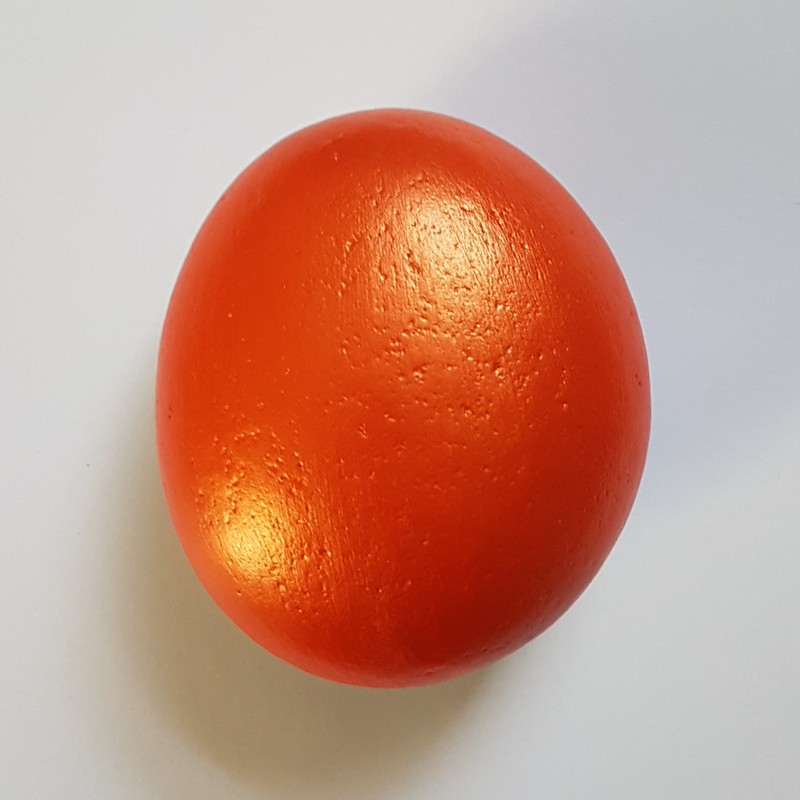
- Once dry, you are ready to make your rock into a pumpkin beauty

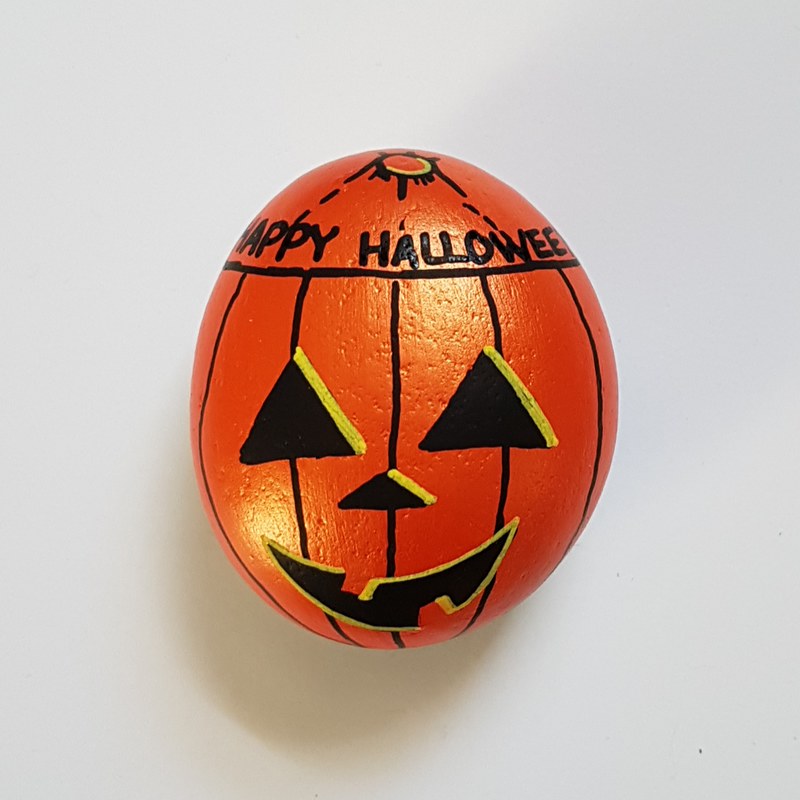
- Start by placing a line across the top
- So that you have a guide to head toward, add a little dot down the bottom in the middle

- Starting up by your line, draw some lines down to your 'spot' so that they all meet there

- Once dry, add your facial feature. Eyes and nose look awesome when using simply triangles.

- Add a big smile with some gaps for teeth. Colour all these in black


- Add a little stalk on the top.

- Add some yellow 'shading' on the eyes. I've also added some text to the top. and there he is, or she, as beautiful and as handsome as the next pumpkin this Halloween
- If you need help with this, click here
- Allow to dry.
Seal your rock.
- For help sealing your rock, click here.
- If you need help with what sealant to use, click here
If you need help creating and sharing rocks, here are some previous publications that can help you:
- Preparing and Painting Rocks
- Cool Places to Hide Your Rocks
- Not-So-Cool Places to Hide Your Rocks
- Basic Do's and Do Not's
- What to write on the back of your rock
Check out the FAQ and, if it's not there, ask on the Facebook group, we'll all be happy to help!
 |
| More pumpkin tutorials available here |
No comments:
Post a Comment
Note: only a member of this blog may post a comment.