

With the recent additions of spring-time 'things' tutorials of finger-painted bees, flowers and caterpillars, anything Spring just wouldn't be Springy enough without the anticipation of caterpillars emerging as butterflies not long away! There might even be another bee tutorial due soon so, watch this space!
Here's what you'll need:
- Your chosen rock
- Acrylic paints of your chosen colours - I've chosen:
- Blue
- Red
- Pink
- Orange
- An old plate, a paper plate or paint pallet
- Paint pens or Sharpies (optional)
- Black for the outline and eyes (optional)
- White for the eye highlights (optional)
- A slim paint brush (optional)
- Warm, soapy water
- A sponge
Here's how it's done:
1. Wash and dry your rock.
- For more details on how to paint and prepare your rock, click here
2. Add a drop of each colour paint to your pallet.

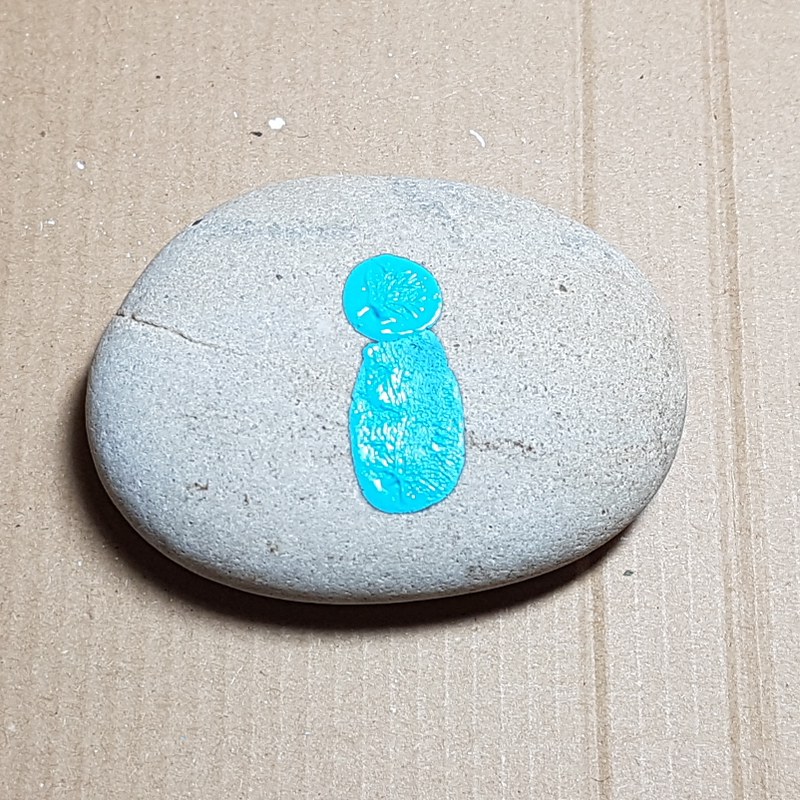
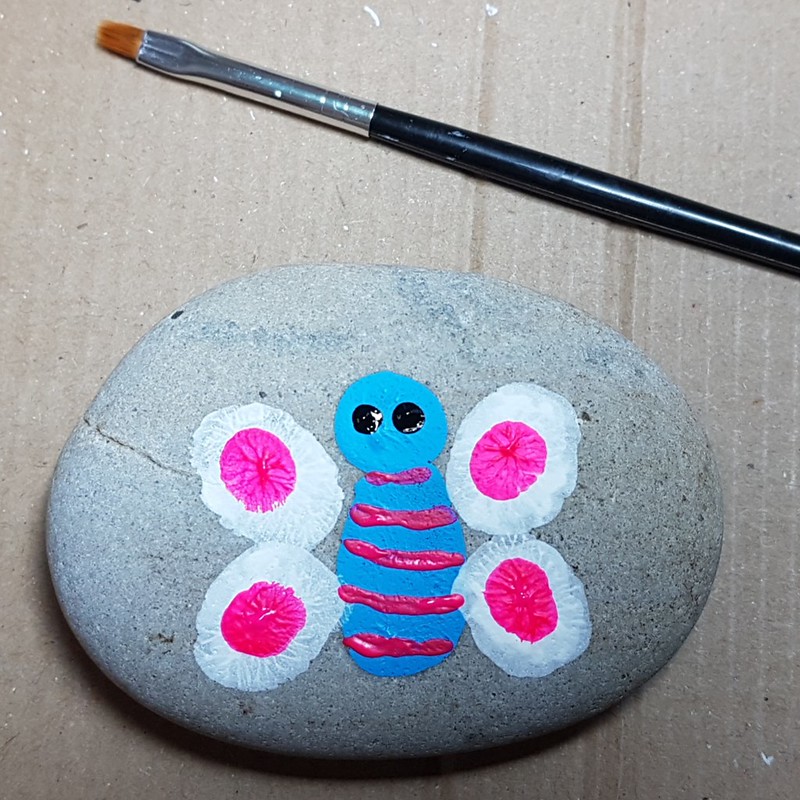
- Start with the body and add a dab that is long
- Next, a smaller, rounder blob for the head
- Allow to dry.
4. Add wings.
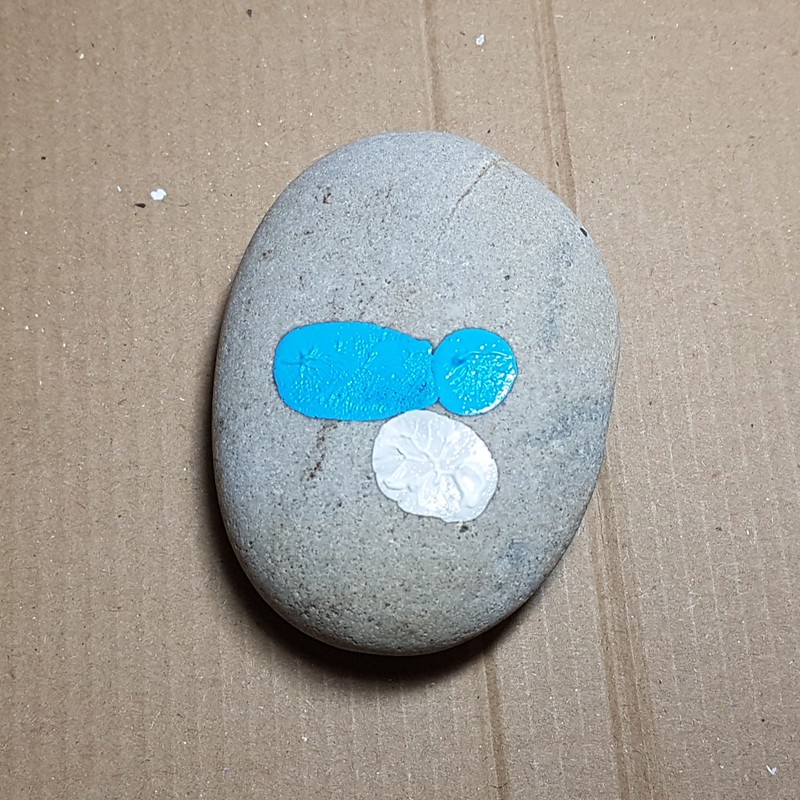


- Using white paint, you need to add four dabs of white paint. You might find it helpful to rotate the rock around as you go.
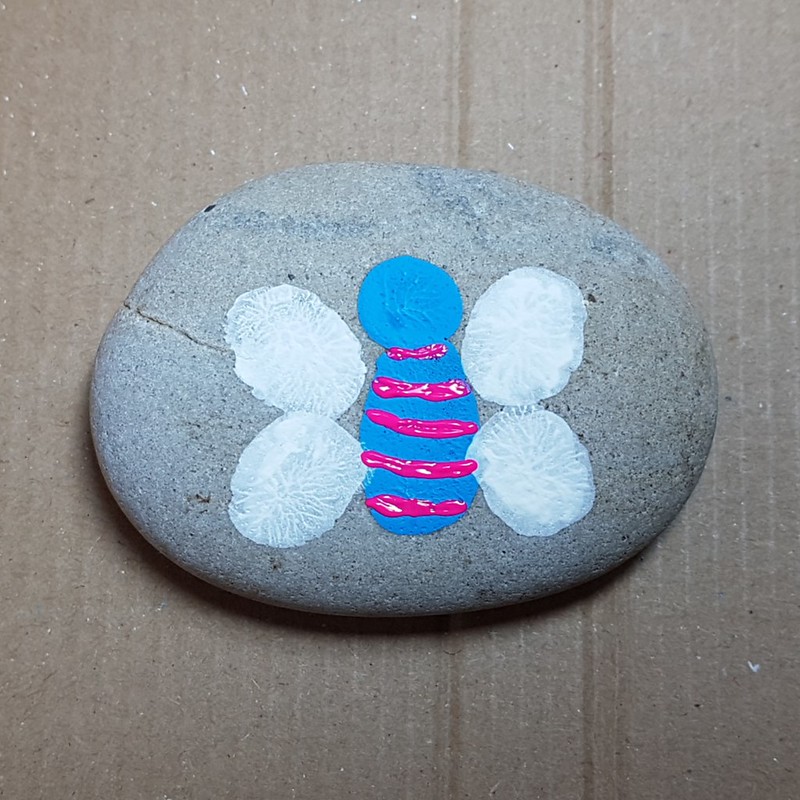
5. Add stripes to the body.
- Now that the body is dry, you can add some stripes on it. I've used pink
6. Add a dab of a different colour to each part of the wings - four in total.
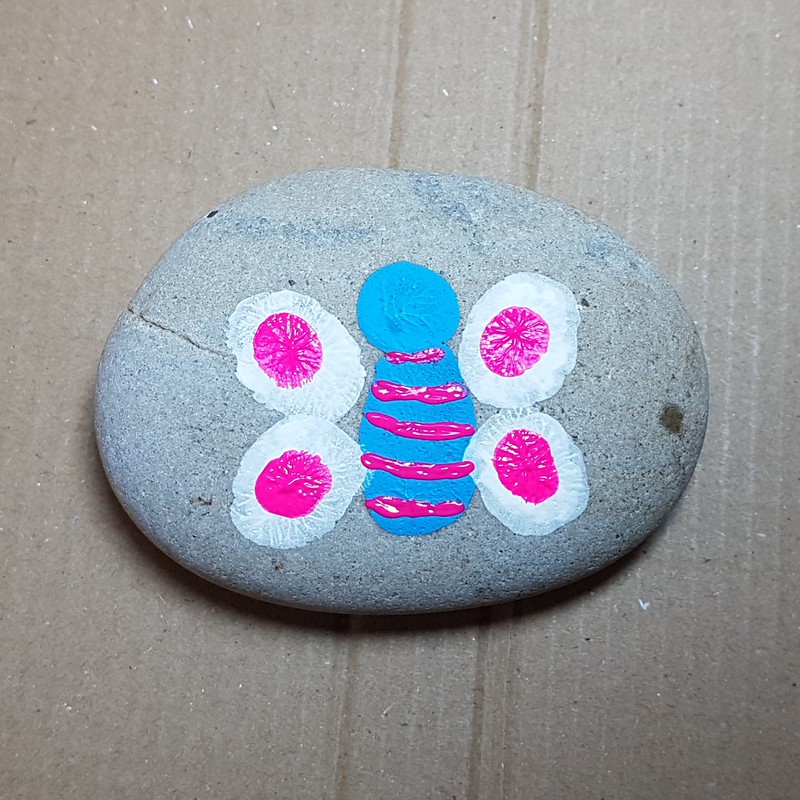
- The allow to dry
- Using the wrong end of your slim paintbrush, dip it in some black paint and add two dots of black to the face for eyes.
8. Outline your butterfly. Using a Sharpie or a paint pen, outline your butterflies body and add some antennae
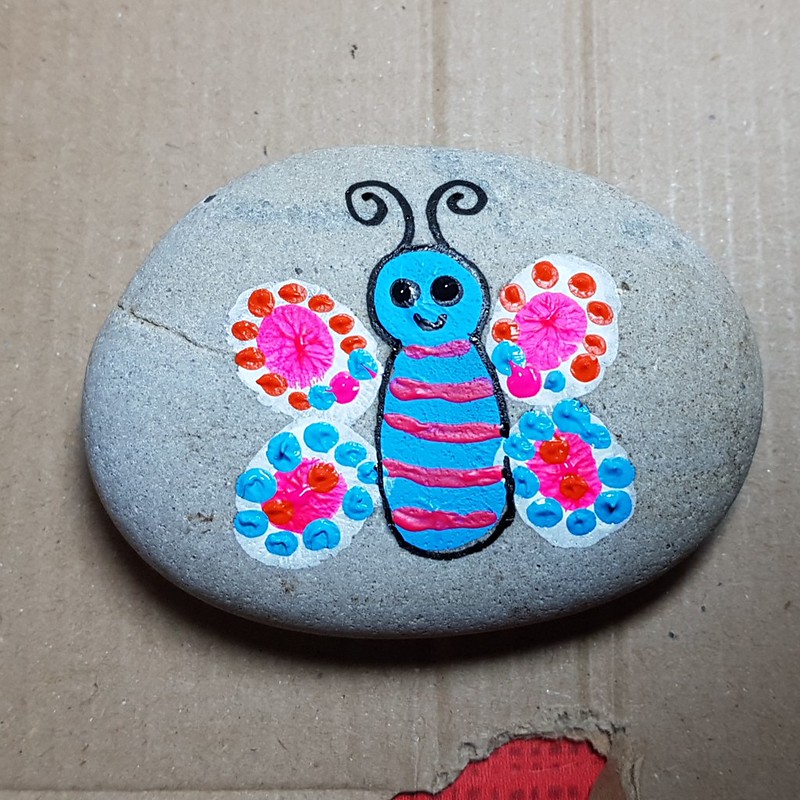
- Here, you can see that I've added some extra colourful dabs of paint around the outside of the white wings. Use the wromg end of your paintbrush to do these if you wish
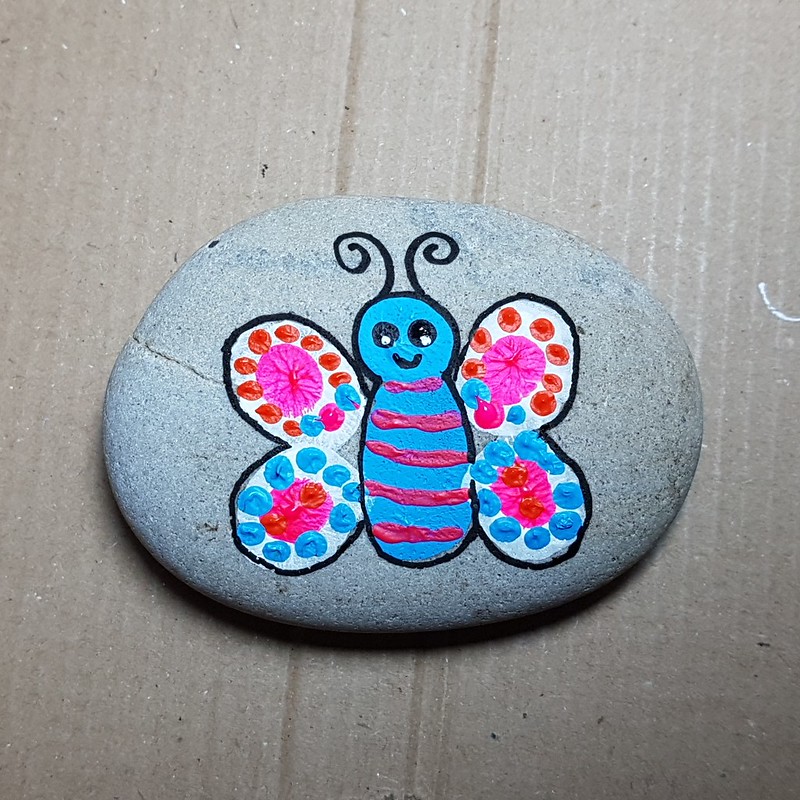
8. Time for some final touches
- Finish outlining around the outside of the wings
- Add a tiny dab of white paint to the black dots of the eyes
9. Add text on the reverse of your rock.
- If you need help with this, click here
- Allow to dry.
10. Seal your rock.
- For help sealing your rock, click here.
- If you need help with what sealant to use, click here
If you need help creating and sharing rocks, here are some previous publications that can help you:
- Preparing and Painting Rocks
- Cool Places to Hide Your Rocks
- Not-So-Cool Places to Hide Your Rocks
- Basic Do's and Do Not's
- What to write on the back of your rock
Check out the FAQ and, if it's not there, ask on the Facebook group, we'll all be happy to help!
No comments:
Post a Comment
Note: only a member of this blog may post a comment.