
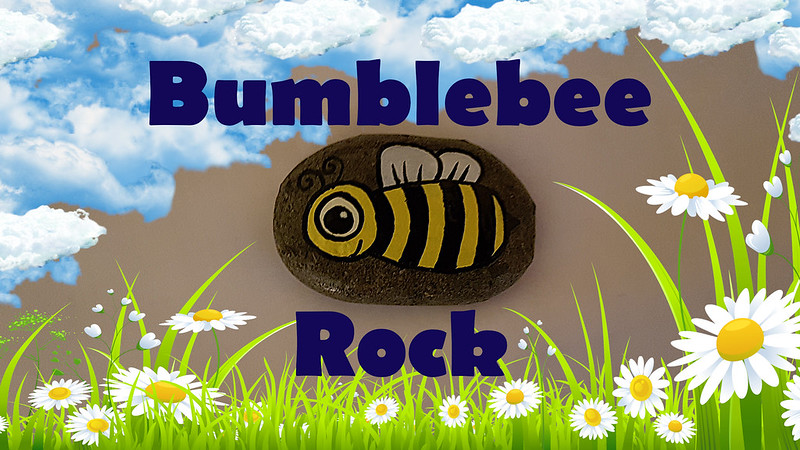
This is the second of four bumblebees published within the last week. Check out the Bumblebee index page in the Tutorial index
Here's what you'll need:
Here's what you'll need:
- Your chosen rock
- Acrylic paints
- Black
- Yellow
- White
- An old plate, a paper plate or paint pallet
- Paint pens or Sharpies (optional)
- Black for the outline and eyes (optional)
- White for the eye highlights (optional)
- A slim paint brush (optional)
- Warm, soapy water
- A sponge
Here's how it's done:
1. Wash and dry your rock.
- For more details on how to paint and prepare your rock, click here
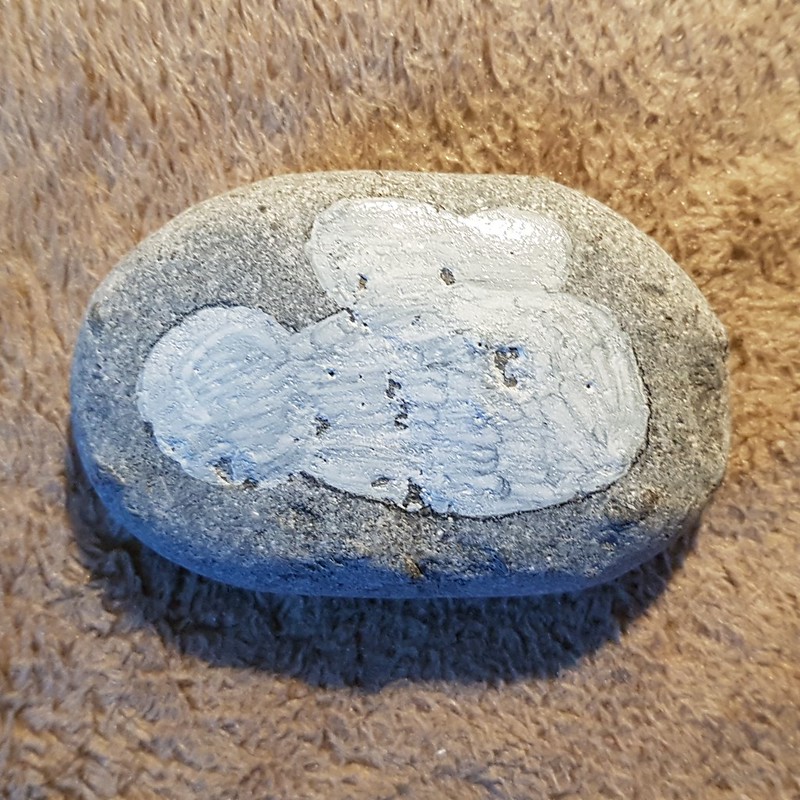
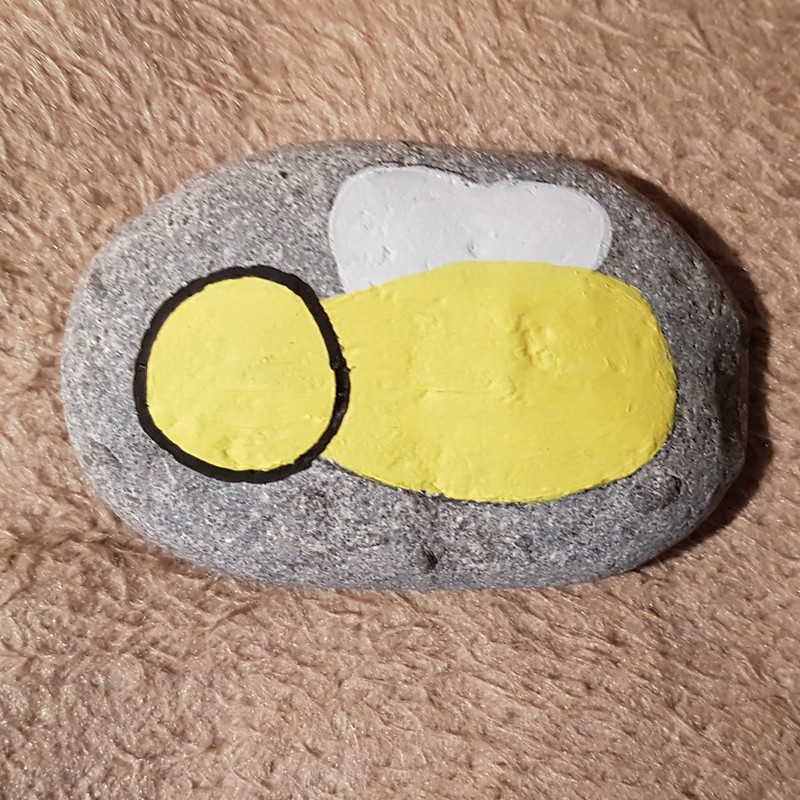
2. Start with a circle for the head and a long oval for the body.


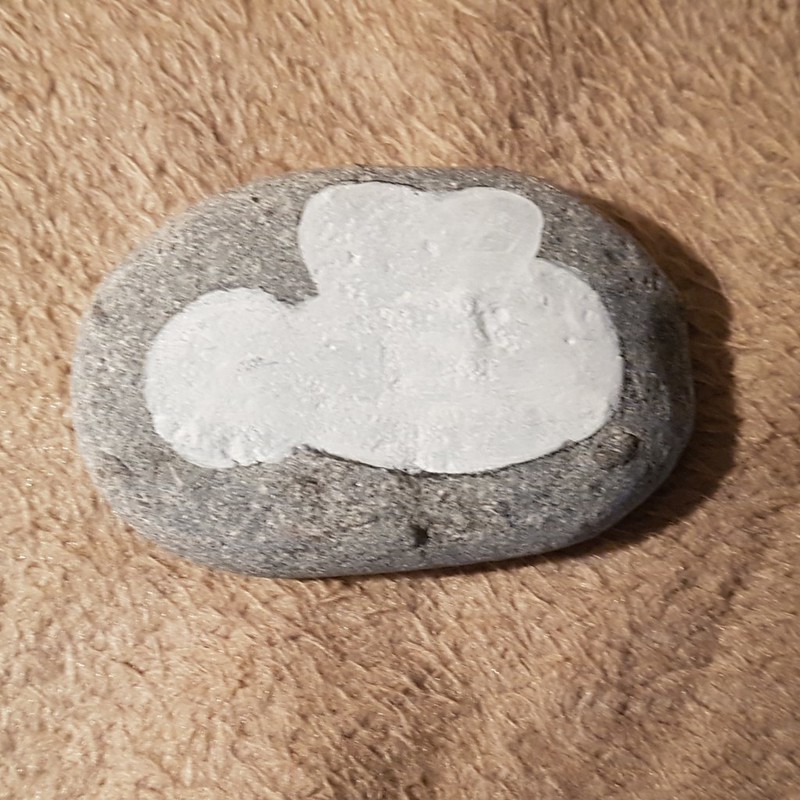
3. Add two circles at the top for wings, then undercoat the whole shape using white.
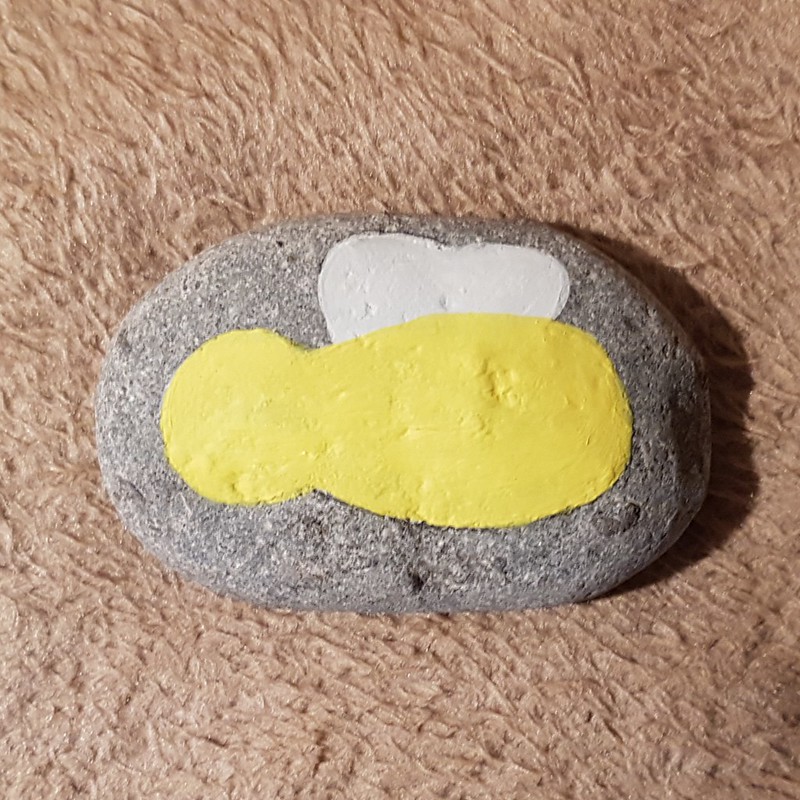
4. Paint the body only using yellow, leave the wings white.
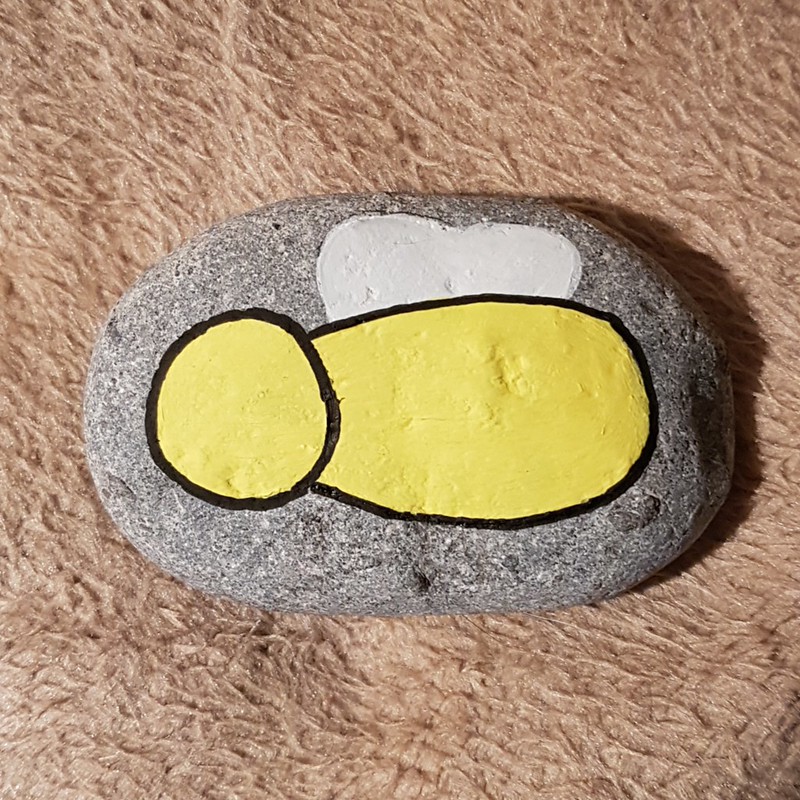

5. When dry, start your outline using black.
- Start with the head first. You will notice why later on.
- Now outline the body.
- Then, lastly, outline both the wings, start with the front one first and then the hind one, so they look like they overlap a little
6. Now for your bee's stripey body
Remember when you did the head outline first? Here's why:
- Starting at the end of the body nearest the head, draw in a thick stripe along the shape of the circle of the head
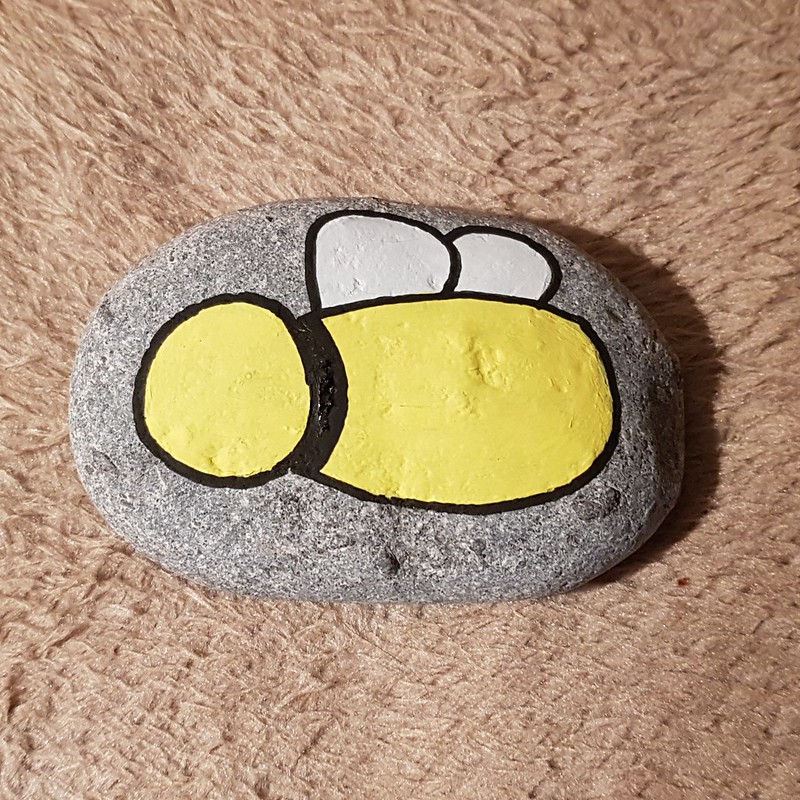
- Next, following this curved shape, add in the remainder of the stripes for the body'
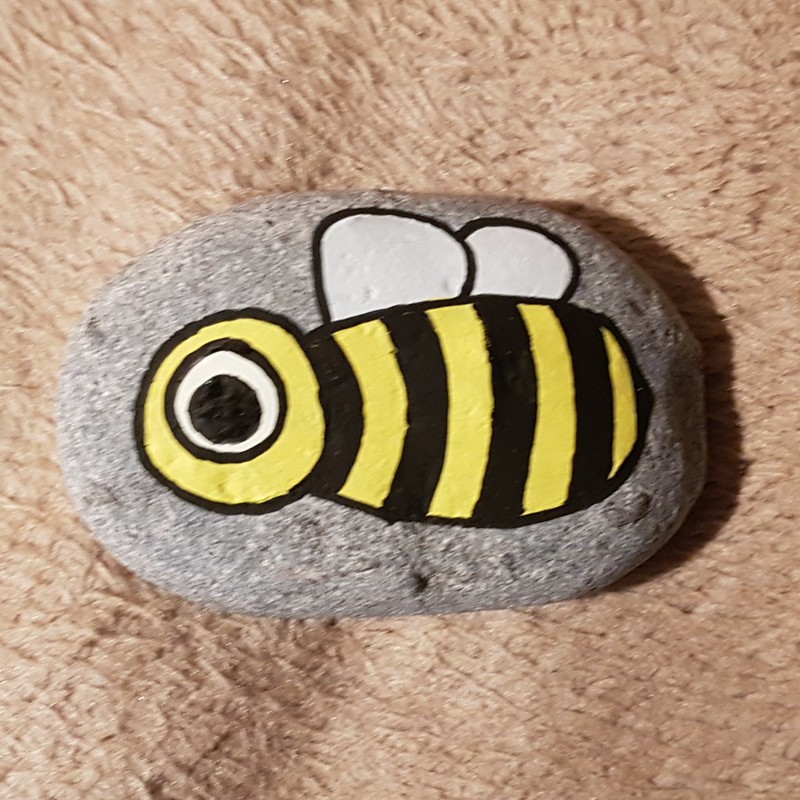
- Using white paint, or a white paint pen, add a large circle for the inside of the eye.
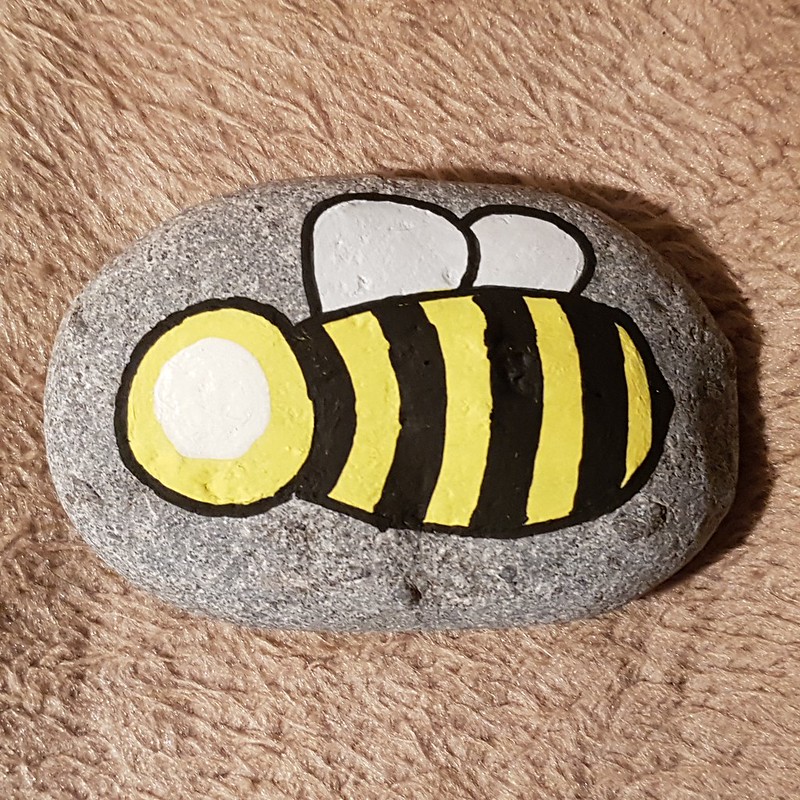
- Now, outline the eye with black then add a large black circle for his big-bug eye-ball and allow to dry.
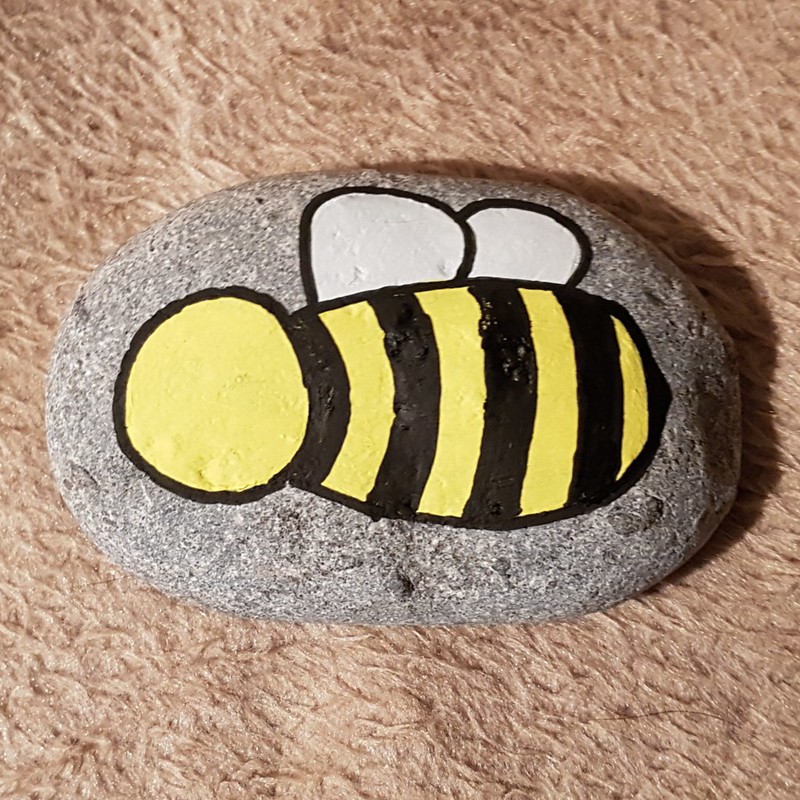
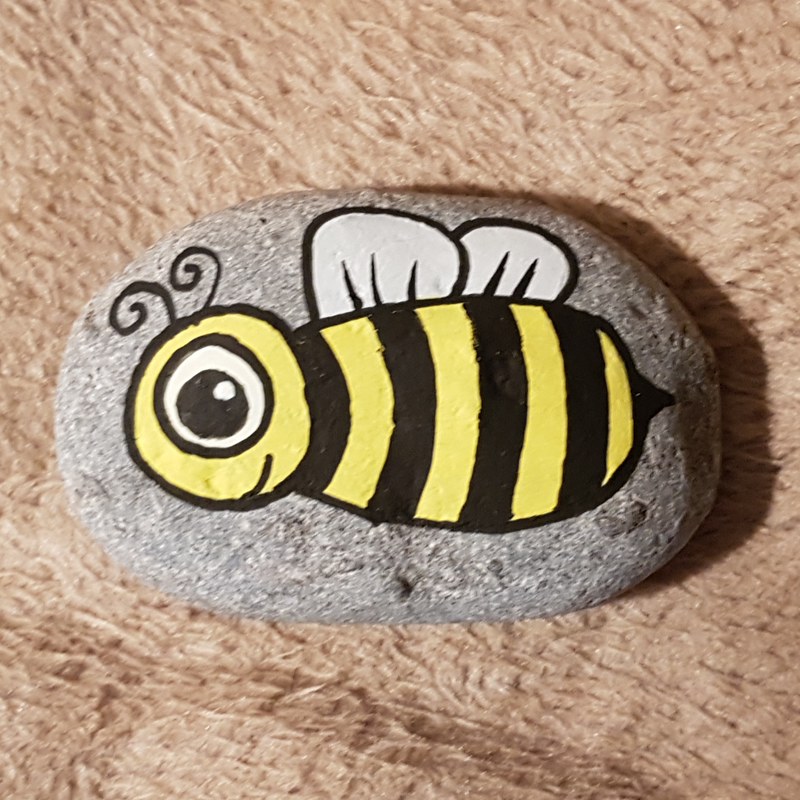
8. Additional detail.
- Whilst the eye is drying, add a little detail to the wings, some antennae on the head, a little smile and a little point on his bottom for his stinger.

- You can, if you prefer, allow the black of the eye to touch the outline, like the one below:

8. Add a tiny white dot in his eye for a highlight.
9. Add text on the reverse of your rock.
- If you need help with this, click here
- Allow to dry.
10. Seal your rock.
- For help sealing your rock, click here.
- If you need help with what sealant to use, click here
If you need help creating and sharing rocks, here are some previous publications that can help you:
- Preparing and Painting Rocks
- Cool Places to Hide Your Rocks
- Not-So-Cool Places to Hide Your Rocks
- Basic Do's and Do Not's
- What to write on the back of your rock
Check out the FAQ and, if it's not there, ask on the Facebook group, we'll all be happy to help!
No comments:
Post a Comment
Note: only a member of this blog may post a comment.