

After creating a few bee rocks recently, here at Taff Rocks HQ, we thought we'd have a change and create an Owl rock for you. If you're looking for our complete lists of tutorials, click here for the index
There are many and varied tutorials out there on how to create simple owls on rocks and make them look perhaps a little more complicated when completed. It's all nice and simple and we encourage you to have a browse around the internet, including Pinterest, for some ideas
Here's what you'll need:
- Your chosen rock
- Acrylic paints or paint pens
- An old plate, a paper plate or paint pallet
- Paint pens or Sharpies (optional)
- Black for the outline and eyes (optional)
- White for the eye highlights (optional)
- A slim paintbrush (optional)
- Warm, soapy water
- A sponge
Here's how it's done:
1. Wash and dry your rock.
- For more details on how to paint and prepare your rock, click here
2. Undercoat your rock.
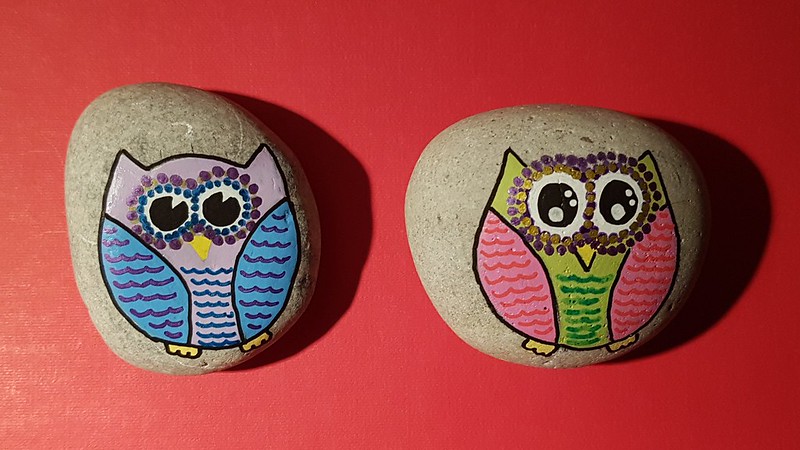
You can see here that I am creating two different rocks, both the same process except for the top of the head.
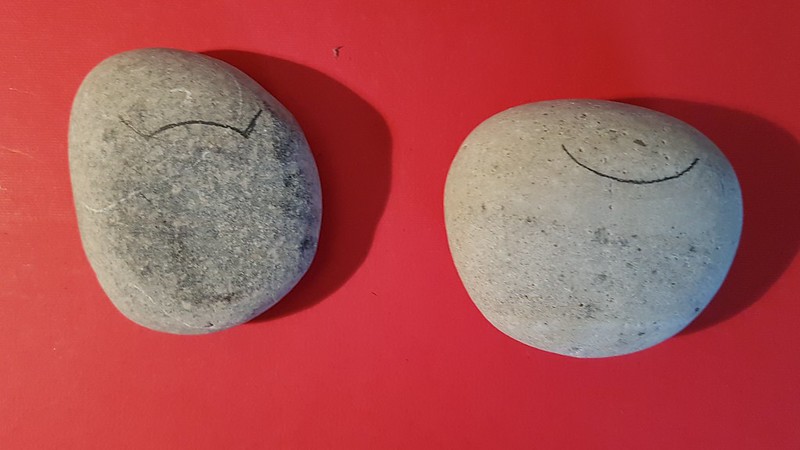
- This is an optional step, as you will see in a moment, I have chosen not to undercoat the whole rock for this adventure.
You can see here that I am creating two different rocks, both the same process except for the top of the head.
- Draw a curved line (click on the image for a larger view)
- For the owl on the left, the curve is upward with a straight line on either side, these will become the ears later.
- For the owl on the right, the curve is downward with no additional lines for the ears.
4. Draw in the body
- Before you draw in the body for the owl on the left, add an additional two short lines from the tip of the ear shape (see image below)
- Now that we have all our lines in place, draw a circle or an oval from one side of the opt line, down to the bottom of the rock and back up again. If you make an error, grab an eraser. But perfection is never important when painting rocks.
- If you want to add an undercoat on the owl shape, now is the time!

5. The wings

- Add a guideline where you want the top of the wings to start. Don't forget, we will be adding big eyes later.
- Make a mark just off-centre at the bottom.
- Now, with a nice sweeping line, starting at where the guideline at the top meets the outer body and all the way down to the off-centre point (see image below)
6. Add circles for the eyes

- Add two big, round circles for the eyes. If you need a guideline to help you find the centre of the head / face, add that first
7. Start painting
- I have chosen not to undercoat mine.
- Start painting, in whatever colours you wish, the body and the wings.
- Leave the eyes until last

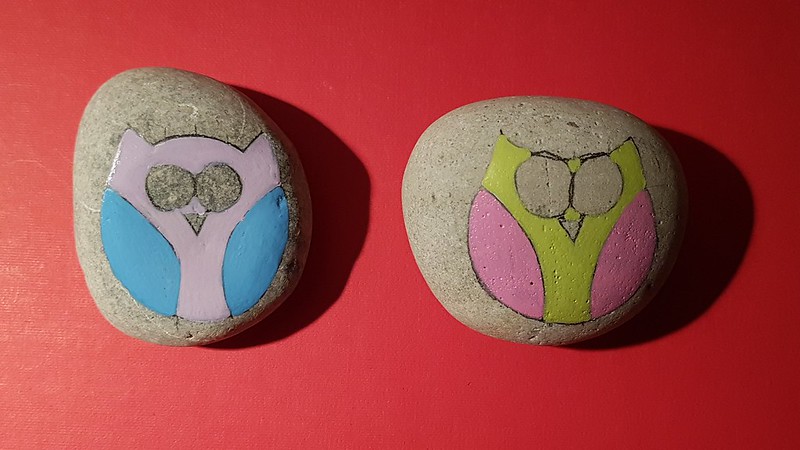
- Using white, colour in the eyes.
- Add two yellow lines at the bottom, these will become feet later
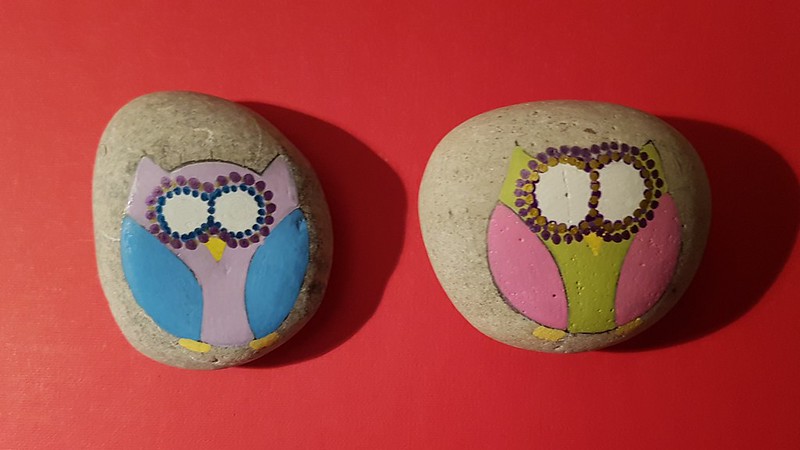
8. Draw circles or add dots around the eyes
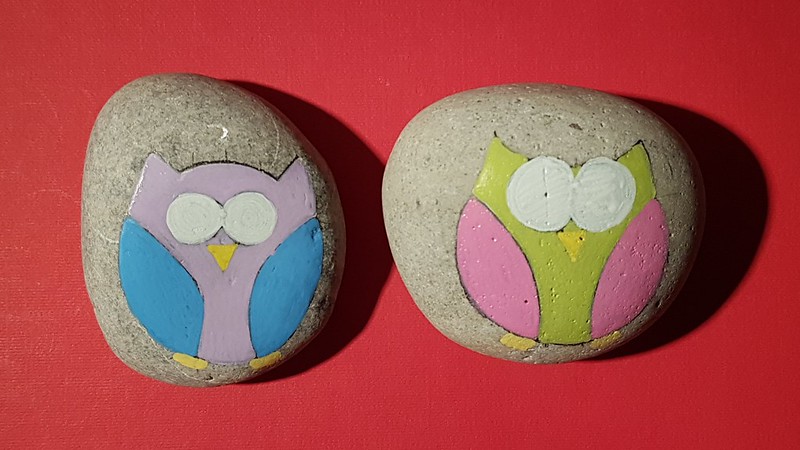
9. Time to finish off the eyes.
I am going to show you two ways you can create the inside black of the eyes. These can be circles or ovals almost filling in the white space of the eyes:
- On the left, we almost have a full black circle, but it has not quite reached the full circle point and has a little triangle missing
- On the right, we have a full, black circle

8. Add an outline
- Outline your owl with a black paint pen, Sharpie or a very thin brush
- Add some dots in the eyes for highlights
- Remember to outline the feet too
9. Add text on the reverse of your rock
- If you need help with this, click here
- Allow to dry.
10. Seal your rock.
- For help sealing your rock, click here.
- If you need help with what sealant to use, click here
If you need help creating and sharing rocks, here are some previous publications that can help you:
- Preparing and Painting Rocks
- Cool Places to Hide Your Rocks
- Not-So-Cool Places to Hide Your Rocks
- Basic Do's and Do Not's
- What to write on the back of your rock
Check out the FAQ and, if it's not there, ask on the Facebook group, we'll all be happy to help!
No comments:
Post a Comment
Note: only a member of this blog may post a comment.