
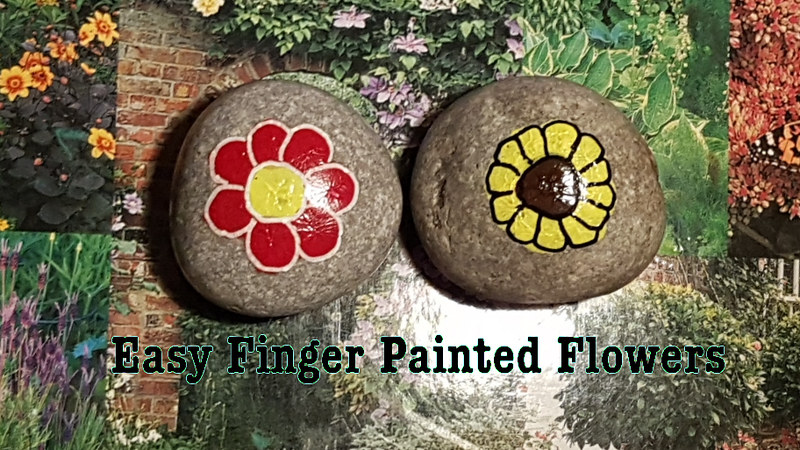
Finger painted flowers, a beautiful and simple little flower of any colour your desire. Creating finger painted flower rocks couldn't be easier, even for little fingers, under adult supervision. After all, we don't want our little ones putting their paint-y fingers in their mouths, even if the pain is non-toxic.
Here's what you'll need:
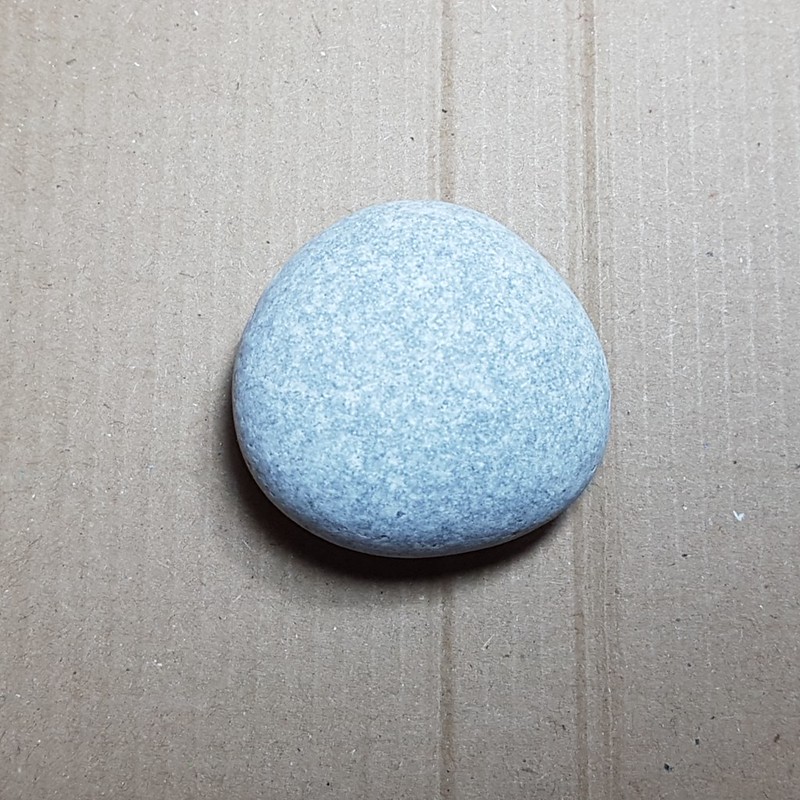
- Your chosen rock
- Acrylic paints of your chosen colours, at least two
- An old plate, a paper plate or paint pallet
- Paint pens or Sharpies (optional)
- Black for the outline (optional)
- A slim paint brush (optional)
- Warm, soapy water
- A sponge
There are two flowers here, this tutorial will show one flower with the other as an option later on in the tutorial.
Here's how it's done:
1. Wash and dry your rock.
- For more details on how to paint and prepare your rock, click here
2. Add a drop of each colour paint to your pallet.
3. Using your centre colour, dip your finger in the paint and dab the excess off. This will be your guide 'blob'.
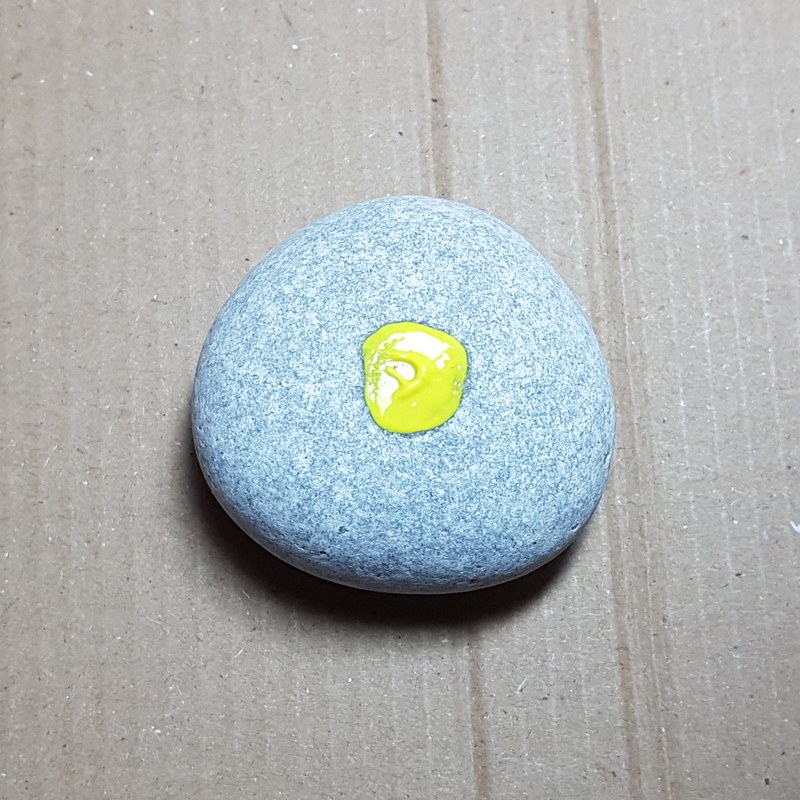
- Allow to dry.
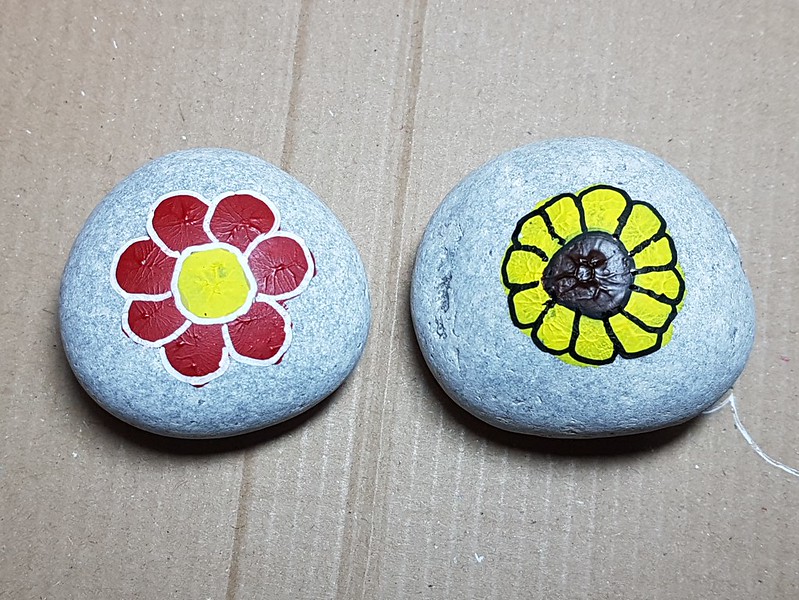
4. Start adding petals.
- Using the same method as above, and your second colour, start dabbing some petals around your centre until they are all the way around.


- Allow to dry, then add a second coat if you prefer.
- Sometimes, the petals cover the centre a little, a second coat will fix this.

Options:
- You can use whatever colours you prefer, here we have a 'sunflower'. Painted with extra petals around the sides in yellow and a brown centre.
6. Add text to the reverse of your rock.
- If you need help with this, click here
- Allow to dry.
7. Seal your rock.
- For help sealing your rock, click here.
- If you need help with what sealant to use, click here
If you need help creating and sharing rocks, here are some previous publications that can help you:
- Preparing and Painting Rocks
- Cool Places to Hide Your Rocks
- Not-So-Cool Places to Hide Your Rocks
- Basic Do's and Do Not's
- What to write on the back of your rock
Check out the FAQ and, if it's not there, ask on the Facebook group, we'll all be happy to help!
No comments:
Post a Comment
Note: only a member of this blog may post a comment.