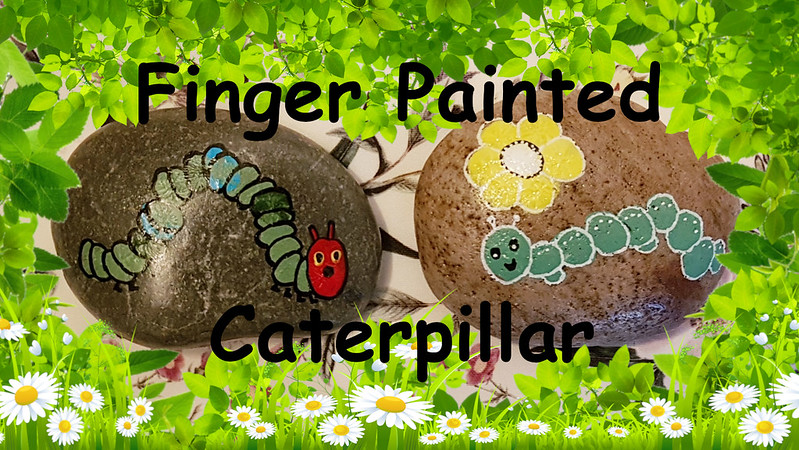
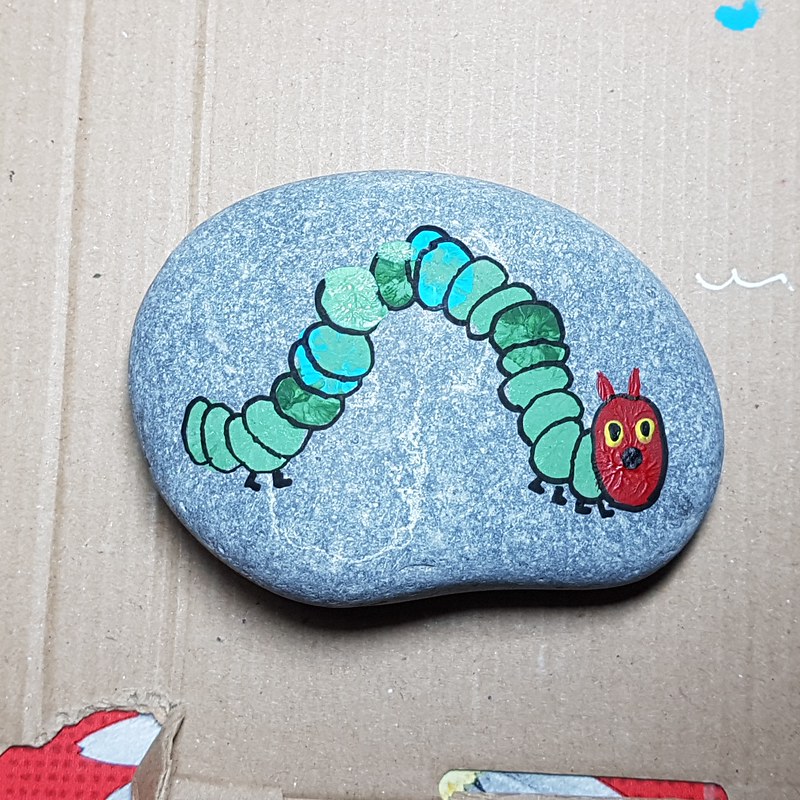
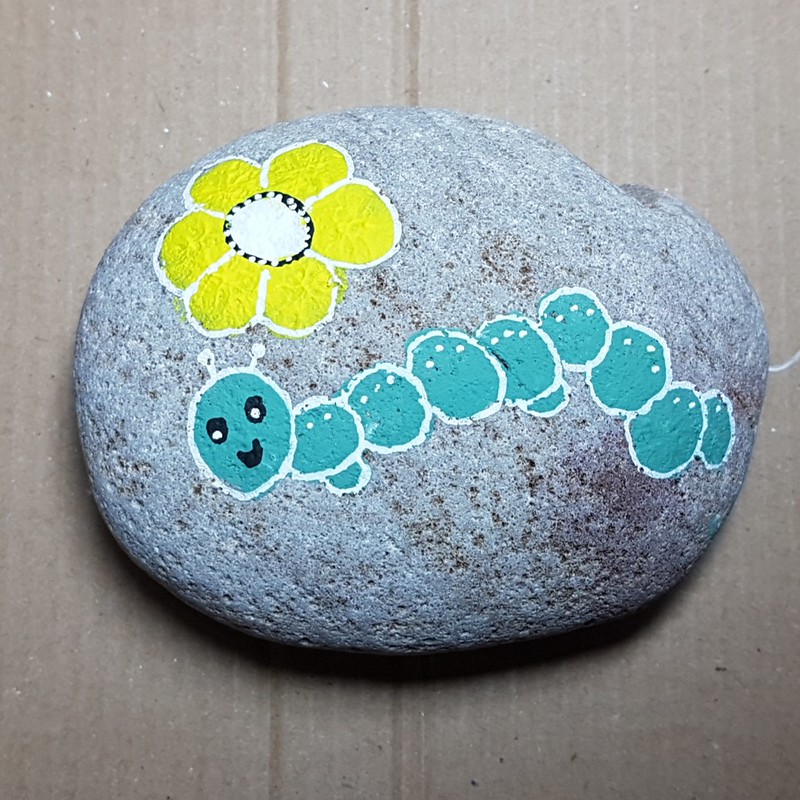
These little caterpillars are just so sweet! If you change the colour of his face, you can turn an 'ordinary' caterpillar into The Hungry Caterpillar!
Here's what you'll need:
- Your chosen rock
- Acrylic paints of your chosen colours: green and black
- Hungry Caterpillar: Red and yellow too
- An old plate, a paper plate or paint pallet
- Paint pens or Sharpies (optional)
- Black for the outline (optional)
- A slim paintbrush
- Warm, soapy water
- A sponge
For a tutorial on the flowers, click here.
Here's how it's done:
1. Wash and dry your rock.
- For more details on how to paint and prepare your rock, click here
2. Add a drop of each colour paint to your pallet.
- The Hungry Caterpillar:
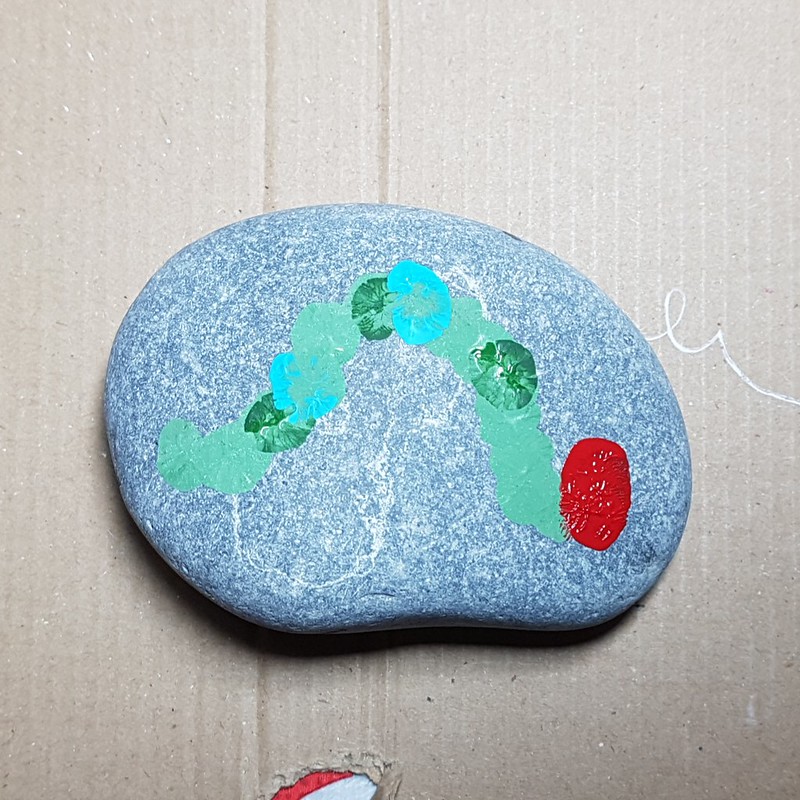
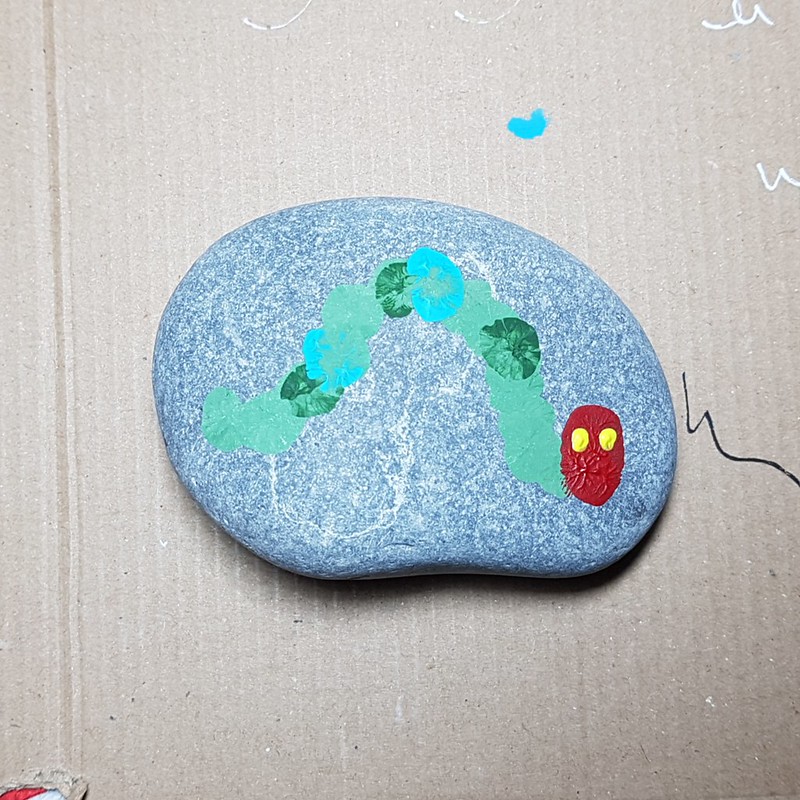
- Start at his tail end and work your way to the head. Make sure he has a big hump in the middle, like the picture.
- If you overlap the green blobs, at the end you can outline more segments of his body
- You can add some other shades of green in the body shape and even a little blue dab here and there.
- Don't forget to add a larger blob of red for the head of the Hungry Caterpillar
 |
| The Hungry Caterpillar |
- The ordinary caterpillar:
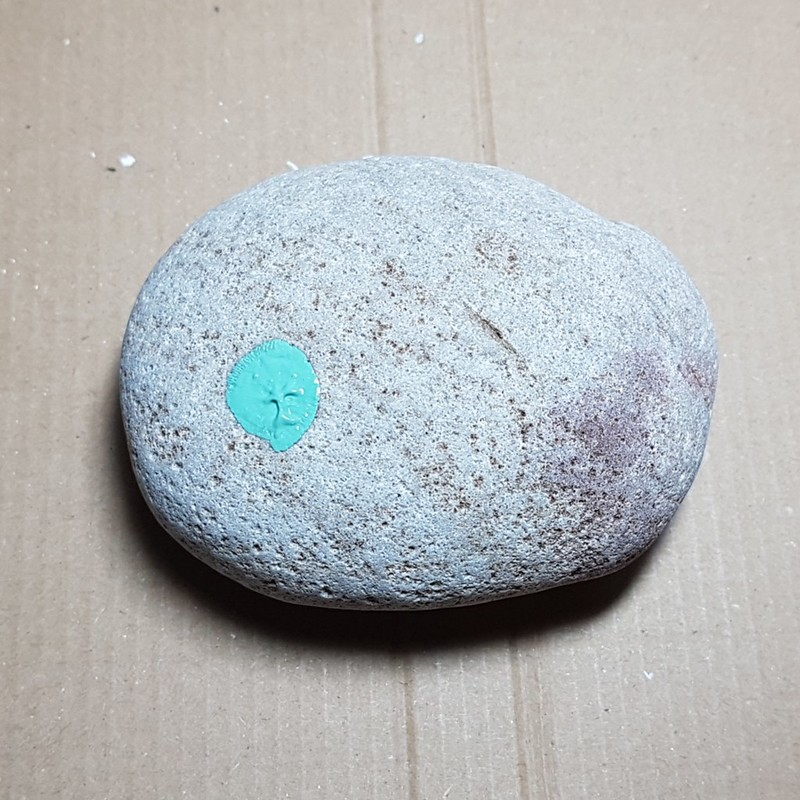
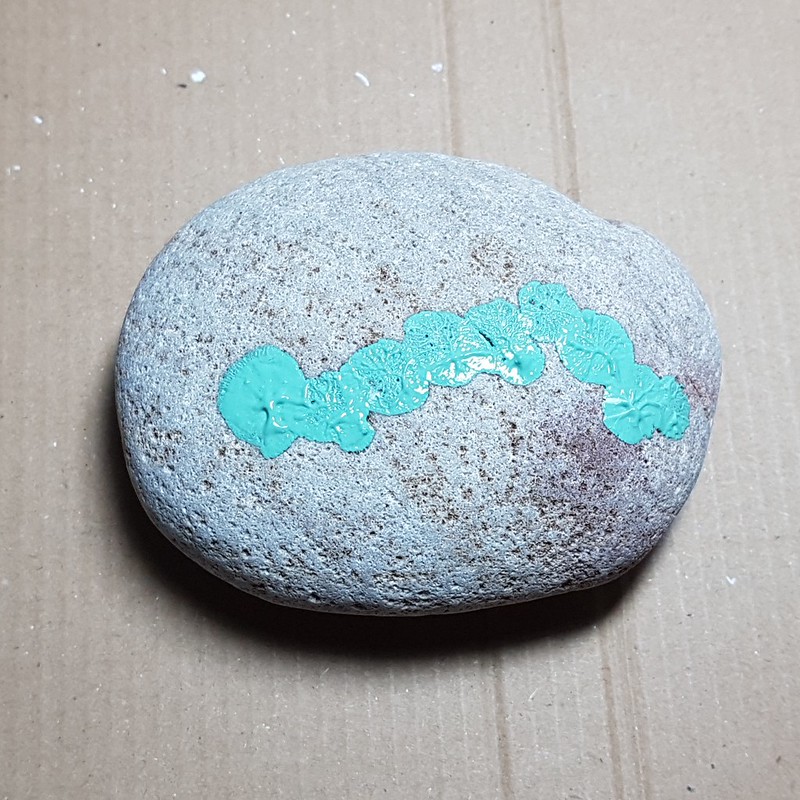
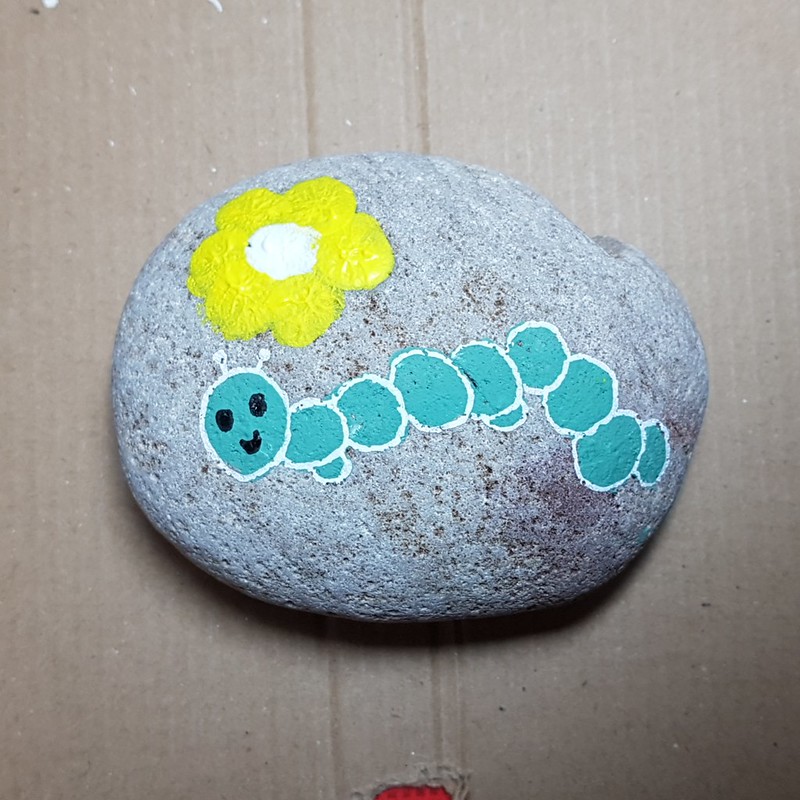
- Start whichever end you wish, but remember the head blog needs to be bigger than the tail end. He can have a hump in the middle or he can be straight.
- Allow to dry.
4. Add a face.
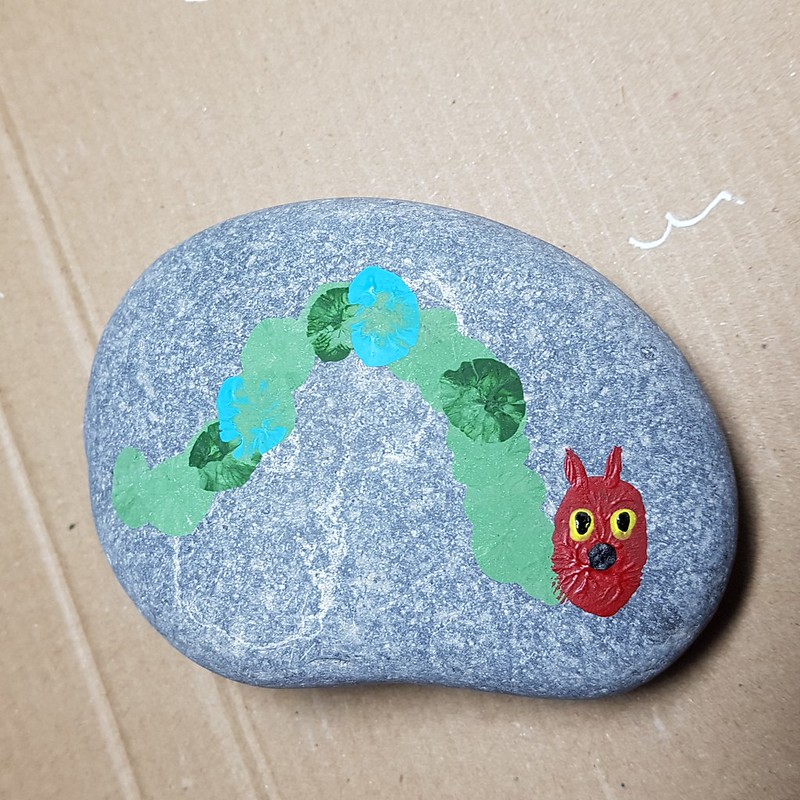
5. Add feet - Hungry Caterpillar only, but you can add some to the ordinary caterpillar too if you wish.- The Hungry Caterpillar:
- Using the wrong end of a thin paintbrush, place two little dots of yellow for the eyes.
- When they are dry, add two smaller dots of black in the centre of the yellow to make the rest of his eyes.
- Add a smaller black dot below the eyes, in the centre, for his mouth
- Add two antennae on top of his head in red
- For the ordinary caterpillar:
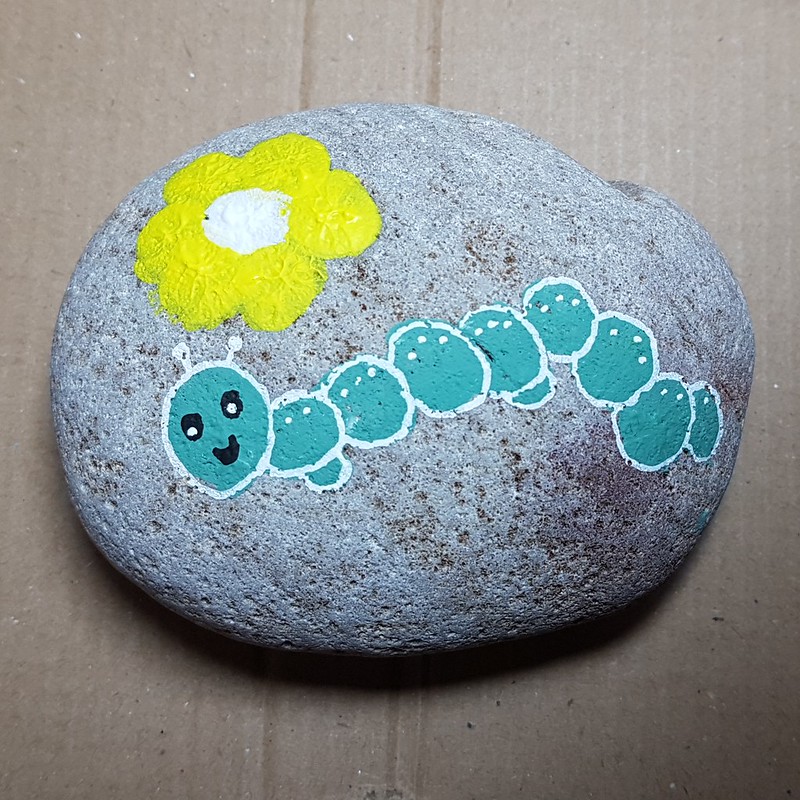
- Using the wrong end of a thin paintbrush, place two little dots of black for the eyes.
- When they are dry, add two smaller dots of white in the centre of the black for highlights.
- Make a tiny little smiley mouth using black
6. Outline your caterpillar.
- The Hungry Caterpillar: Well, nobody's perfect, even I make mistakes. This is me adding extra blobs because I went out of my lines.
7. Add text on the reverse of your rock.
- If you need help with this, click here
- Allow to dry.
8. Seal your rock.
- For help sealing your rock, click here.
- If you need help with what sealant to use, click here
If you need help creating and sharing rocks, here are some previous publications that can help you:
- Preparing and Painting Rocks
- Cool Places to Hide Your Rocks
- Not-So-Cool Places to Hide Your Rocks
- Basic Do's and Do Not's
- What to write on the back of your rock
Check out the FAQ and, if it's not there, ask on the Facebook group, we'll all be happy to help!



No comments:
Post a Comment
Note: only a member of this blog may post a comment.